Best features:
-
Group notifications

-
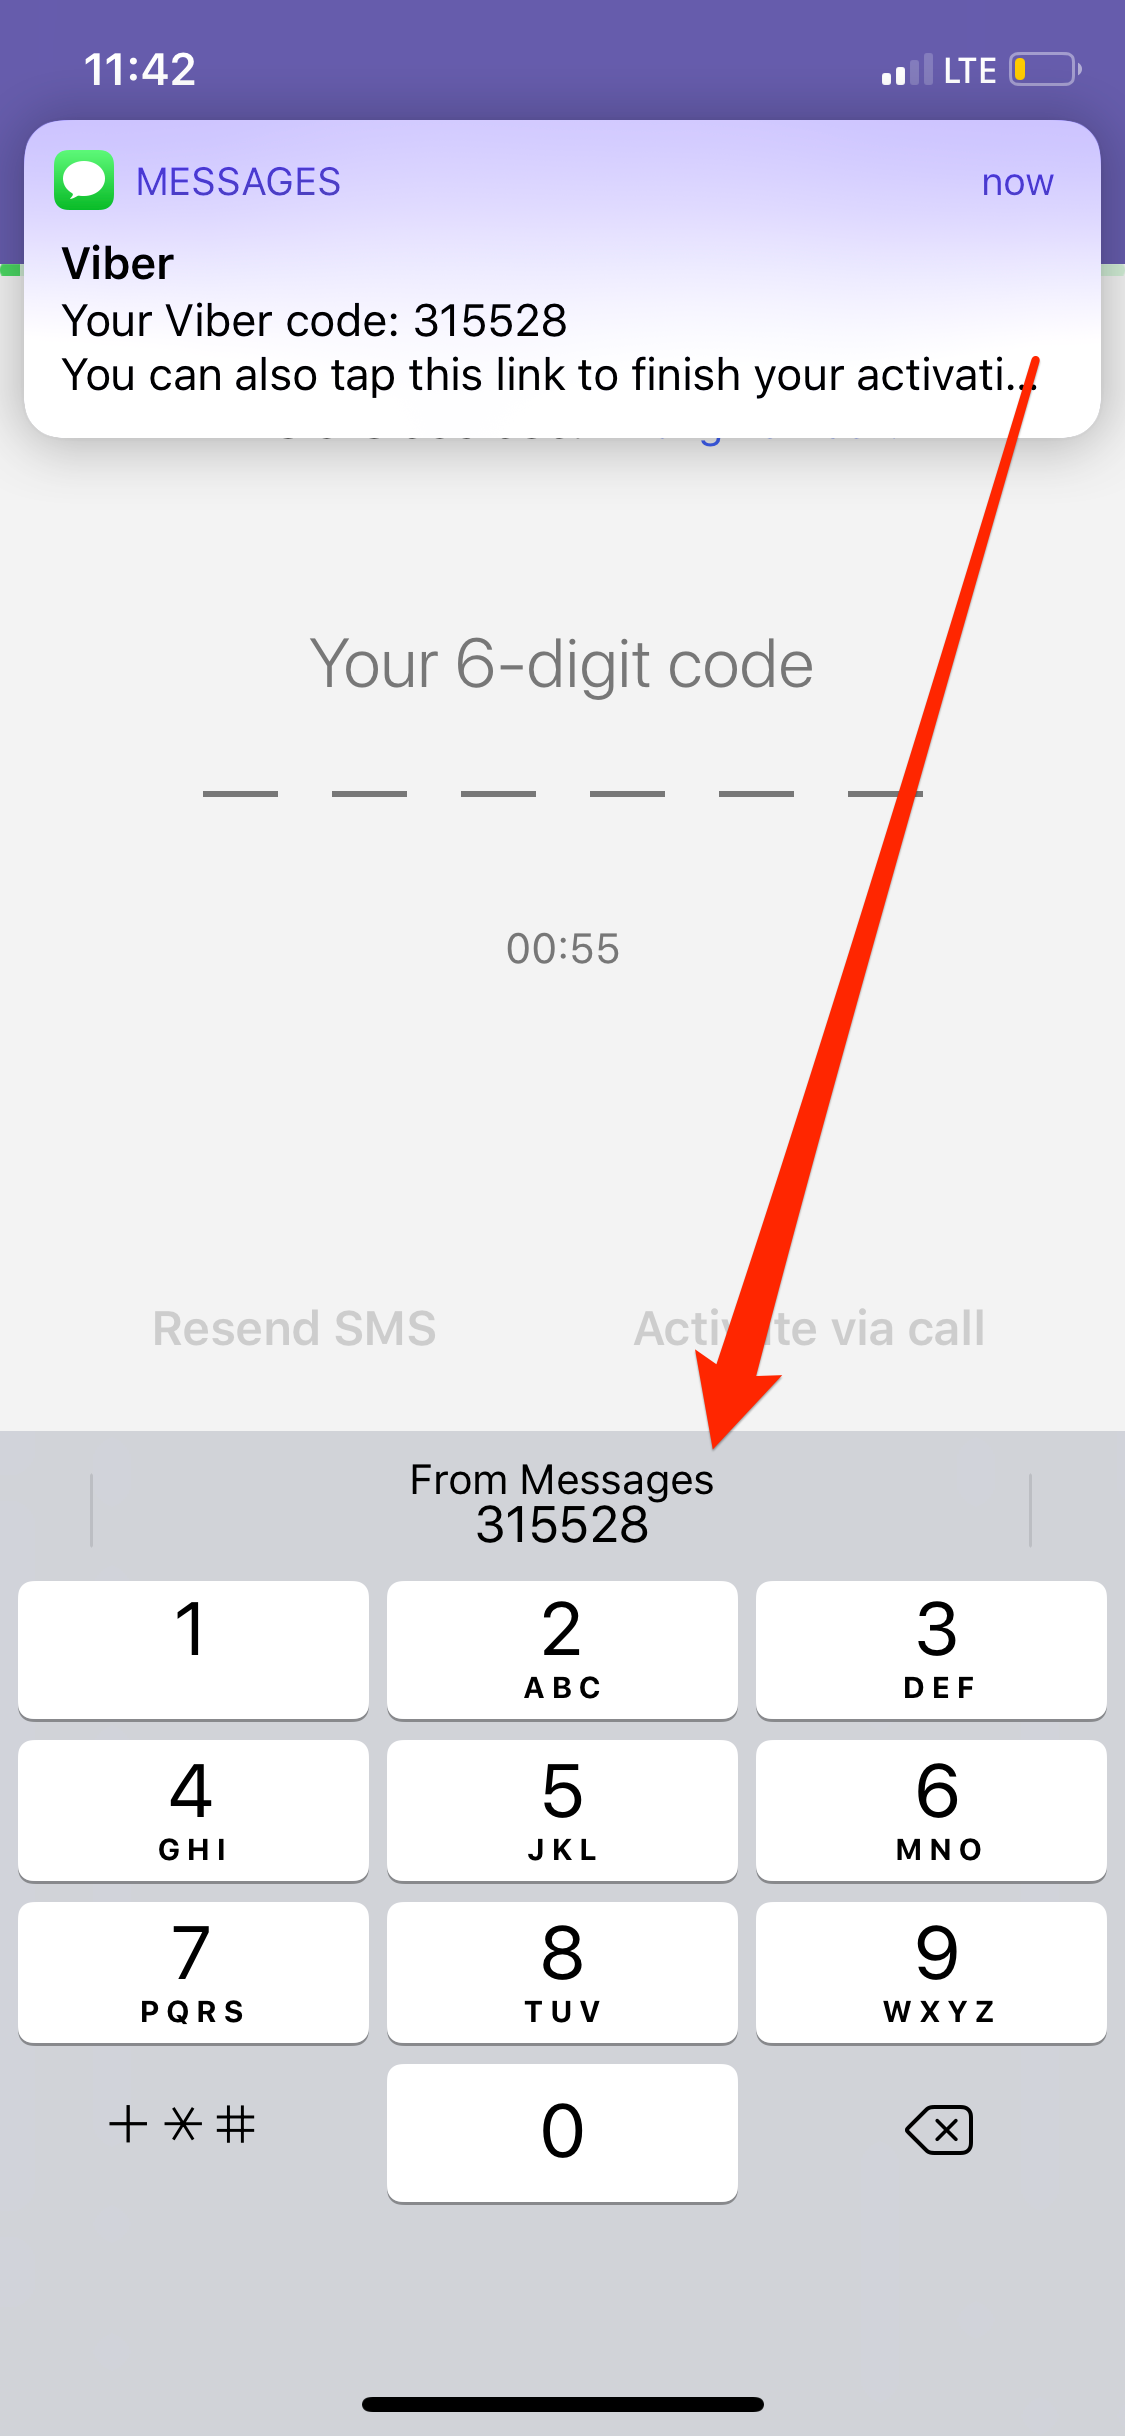
SMS passwords filling in
-
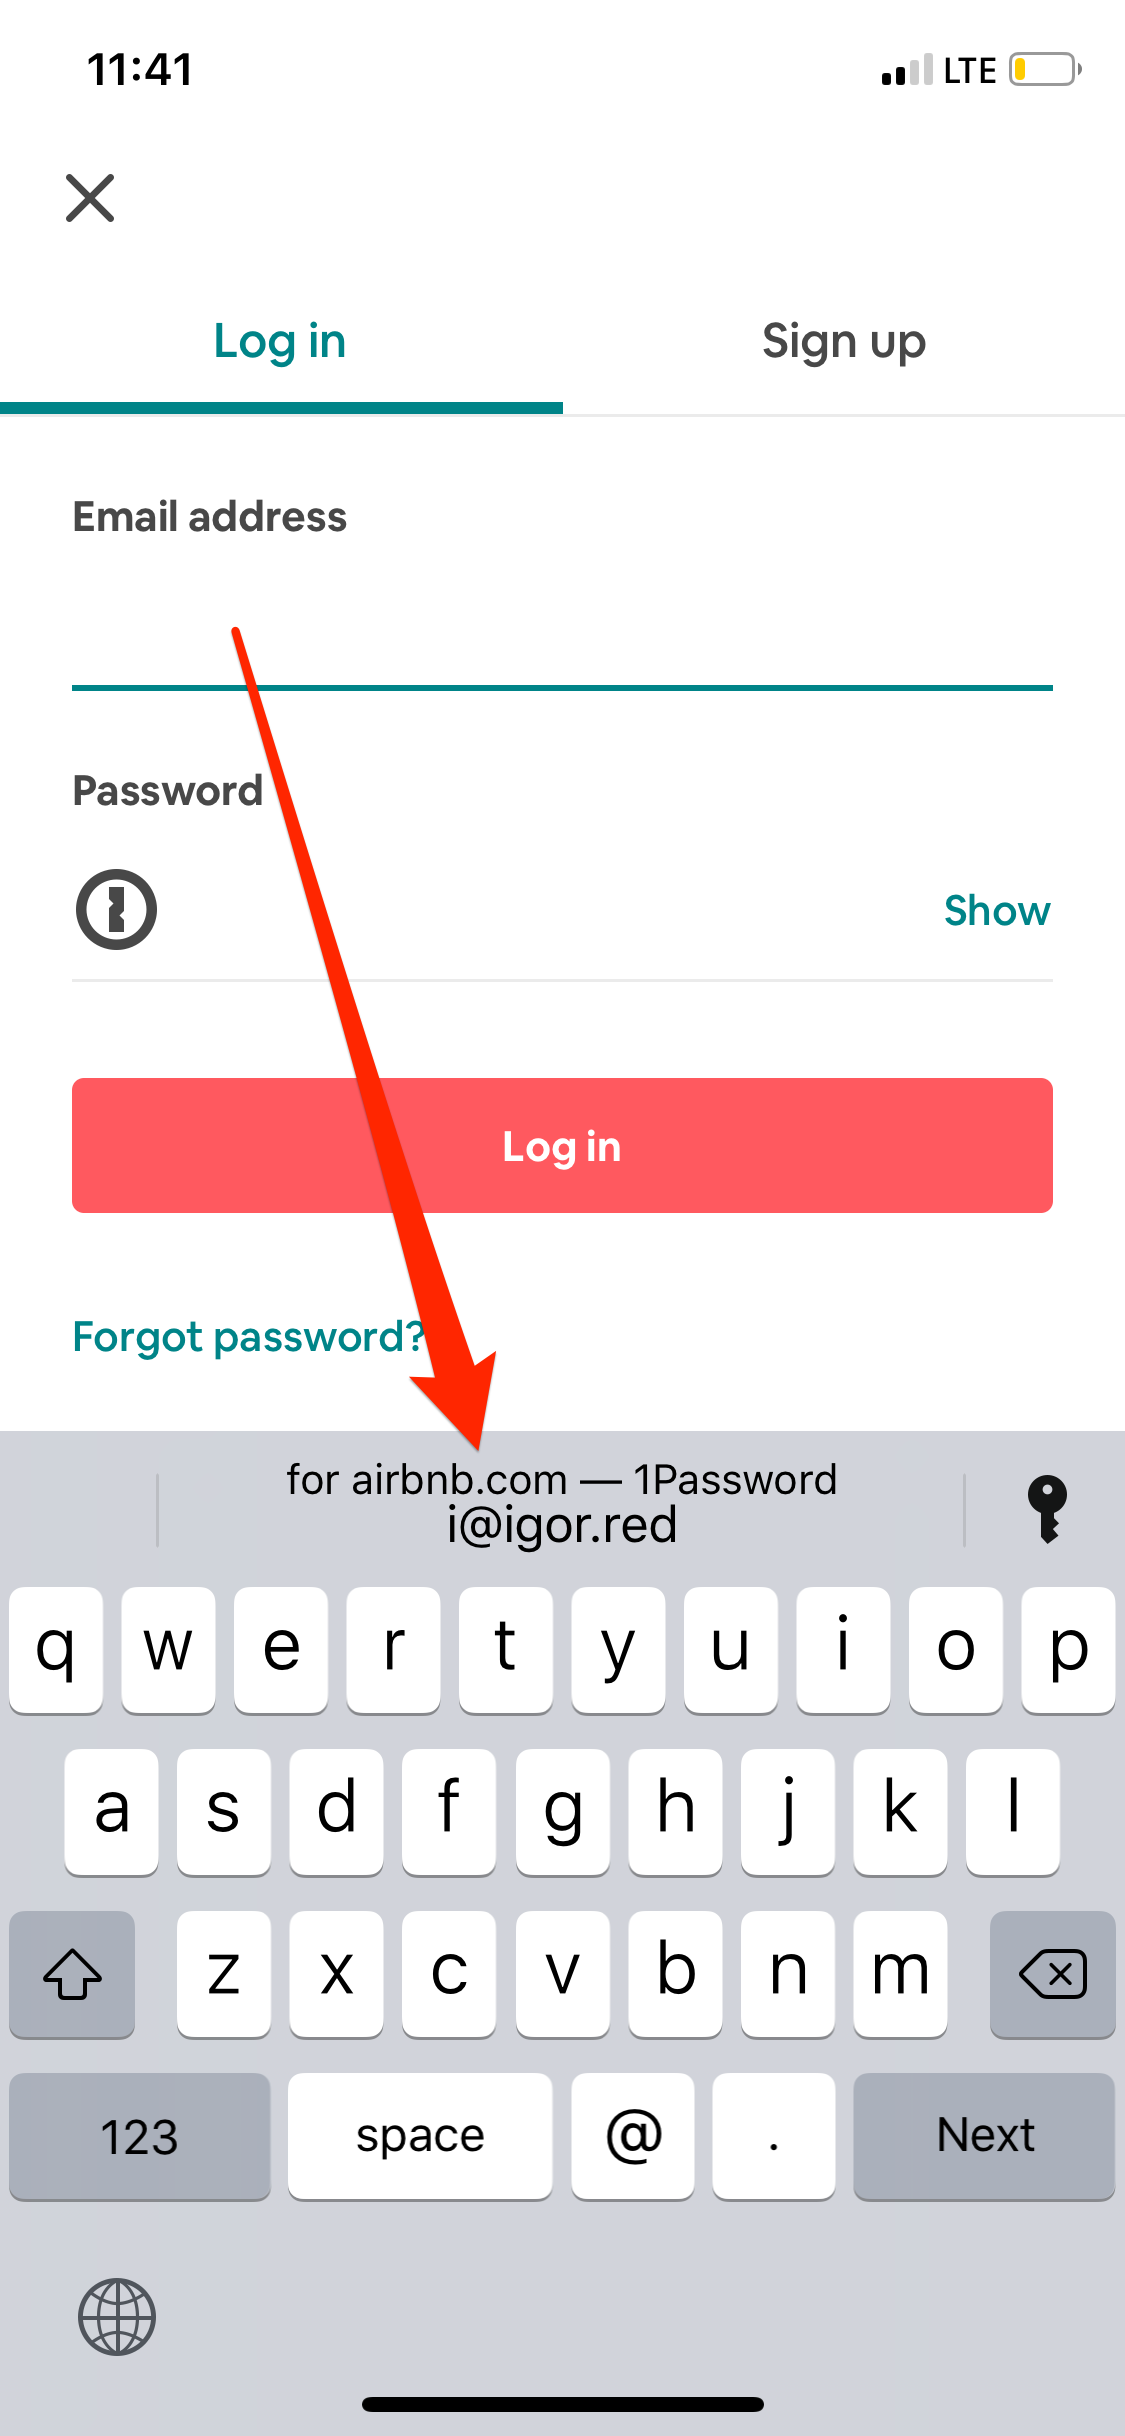
Password suggestions
-
Siri shortcuts
-
Runs faster even on older devices
Best features:
Group notifications
SMS passwords filling in
Password suggestions
Siri shortcuts
Runs faster even on older devices
In the previous article I went through the steps on how to setup Fastlane on your Mac, but what if you would want to have a remote machine doing all the heavy lifting, getting loud and hot and keeping your computer cool and quiet while building your project? Well you can do that.
First ssh into your remote machine, then follow my manual on how to setup Fastlane on your computer and go through all the steps but with a remote machine.
What's the point of this article you would ask? It's mostly to reiterate on the issues you might face while running fastlane beta on the remote server. For example there is a high chance that you might encounter Fastlane's errSecInternalComponent error which is actually pretty easily resolvable by going through the archive and export routine and unlocking keychain via ssh. All the details are in this link.
If you tried running Fastlane on a remote machine, you might have encountered this error. In short: Fastlane has troubles signing in your components and binary before for example uploading them to TestFlight.
To overcome the issue you should do the following:
security unlock-keychain login.keychain - this will allow using the codesigning private key in Fastlane launched via ssh.fastlane <lane> and enjoy Fastlane without the codesigning error.Just some random piloting a month ago
Fastlane is used to automatize different routines in mobile development. In this note (or serious of notes) I'll describe how to use Fastlane to automize your iOS project builds and uploads to TestFlight.
You start by installing latest Xcode tools
xcode-select --install
Next, you install Fastlane via RubyGems
sudo gem install fastlane -NV
or via brew
brew cask install fastlane
Then cd to your project and initialize Fastlane:
fastlane init
Last, edit fastlane/Fastfile to this:
platform :ios do

  before_all do
    ENV["FASTLANE_DONT_STORE_PASSWORD"] = "1"
    ENV["FASTLANE_USER"] = "<Your App Store Connect email"
  end

  desc "Build and upload to TestFlight"
  lane :beta do
        build_app(scheme: "<Your project's scheme>",
                      workspace: "<Your project's>.xcworkspace",
                  include_bitcode: true)
        upload_to_testflight
  end
end
If you want to store your password in the Keychain, just remove ENV["FASTLANE_DONT_STORE_PASSWORD"] = "1"
If you want to store your password in the Fastfile, add ENV["FASTLANE_PASSWORD"] = "<yourPassword>" into the before_all do / end section.
Now run 'fastlane beta' in your Terminal and enjoy an automatic build and upload to TestFlight 🙂
You can use this manual on your own computer. For running it on a remote machine look out for part 2 of this series.
The most reckless, flawed, least edited, but uniquely first
When it comes to autostarting custom scripts/services after booting your Mac, adding stuff to start with your system on Mac OS might now be always possible via System Preferences.app -> Users & Groups -> Login Items. [1]
So in order to make your script or service to launch on start, follow my example on running a DynDNS service on boot and each 5 minutes afterwards.
First start by creating a shell script that launches your service. In my case that's a script that curl's a specific url with parameters of my current IP to assign it to the domain I'm using:
nano ~/Documents/dyndns.sh
with:
IP=$(curl ifconfig.co)
curl "https://dynamicdns.park-your-domain.com/update?host=@&domain=example.com&$
Next I create a system service plist:
nano /Library/LaunchDaemons/dyndns.plist
And enter the following:
<?xml version="1.0" encoding="UTF-8"?>
<!DOCTYPE plist PUBLIC "-//Apple//DTD PLIST 1.0//EN" "http://www.apple.com/DTDs/PropertyList-1.0.dtd">
<plist version="1.0">
        <dict>
                <key>Label</key>
                <string>com.igor.dyndns</string>
                <key>ProgramArguments</key>
                <array>
                <string>/bin/sh</string>
                <string>/Users/igor/Documents/dyndns.sh</string>
                </array>
                <key>RunAtLoad</key>
                <true/>
                <key>StartInterval</key>
                <integer>300</integer>
        </dict>
</plist>
You can avoid the StartInterval key if what you need is just to load on start. You also might label your service something else than com.igor.dyndns
If you're launching your service via shell or you just have a shell script, you'll have to add the absolute path to it via <string>/bin/sh</string> followed by the absolute path to your script within <key>ProgramArguments</key>. If you're not using shell, you just have to specify what you're launching using absolute paths.
My personal recommendation is to specify one launch script here and enter eveything what needs to be launched to that script and not to the plist itself.
Last step is to load your custom service to launchd via:
sudo launchctl load -w /Library/LaunchDaemons/dyndns.plist
Since we're here, you can visit these settings in order to remove something unwanted from your startup which might got there without your consent and might actually slow down your system startup ↩︎
In iOS 10 and Mac OS Sierra Apple removed support for PPTP VPNs from their major OSes and technically had the right for it since PPTP is not secure and outdated. But in case you still have the need to connect to a VPN that works only via PPTP and you're rocking Mac OS Sierra or later you're out of luck. Unless you try using Shimo or Flow VPN which both for me didn't work at all, you're really out of luck 🙂
Thankfully guys at Apple removed only the GUI part of the PPTP client, and you still can use the pppd daemon throught Terminal. But before that you'll have to create a configuration first:
sudo nano /etc/ppp/peers/vpn.example.com
Next, fill it with this info, replacing vpn info with yours:
plugin PPTP.ppp
noauth
# logfile /tmp/ppp.log
remoteaddress "vpn.example.com"
user "username"
password "password"
redialcount 1
redialtimer 5
idle 1800
# mru 1368
# mtu 1368
receive-all
novj 0:0
ipcp-accept-local
ipcp-accept-remote
# noauth
refuse-eap
refuse-pap
refuse-chap
refuse-chap-md5
refuse-mschap
hide-password
mppe-stateless
mppe-128
# require-mppe-128
looplocal
nodetach
# ms-dns 8.8.8.8
usepeerdns
# ipparam gwvpn
defaultroute
debug
Save the file and then start your connection via:
sudo pppd call vpn.example.com
To stop the deamon, close the Terminal with the PPTP session, open a new one and enter:
sudo killall pppd