Just a 360 pano from 50m height. It was windy so the seams aren't perfect..
Apple Watch ECG is out
Available only on the Series 4, the Electrocardiogram (ECG or EKG) has been enabled presumably only for US users, even though it works for me outside of the US, granted with a US iTunes account.
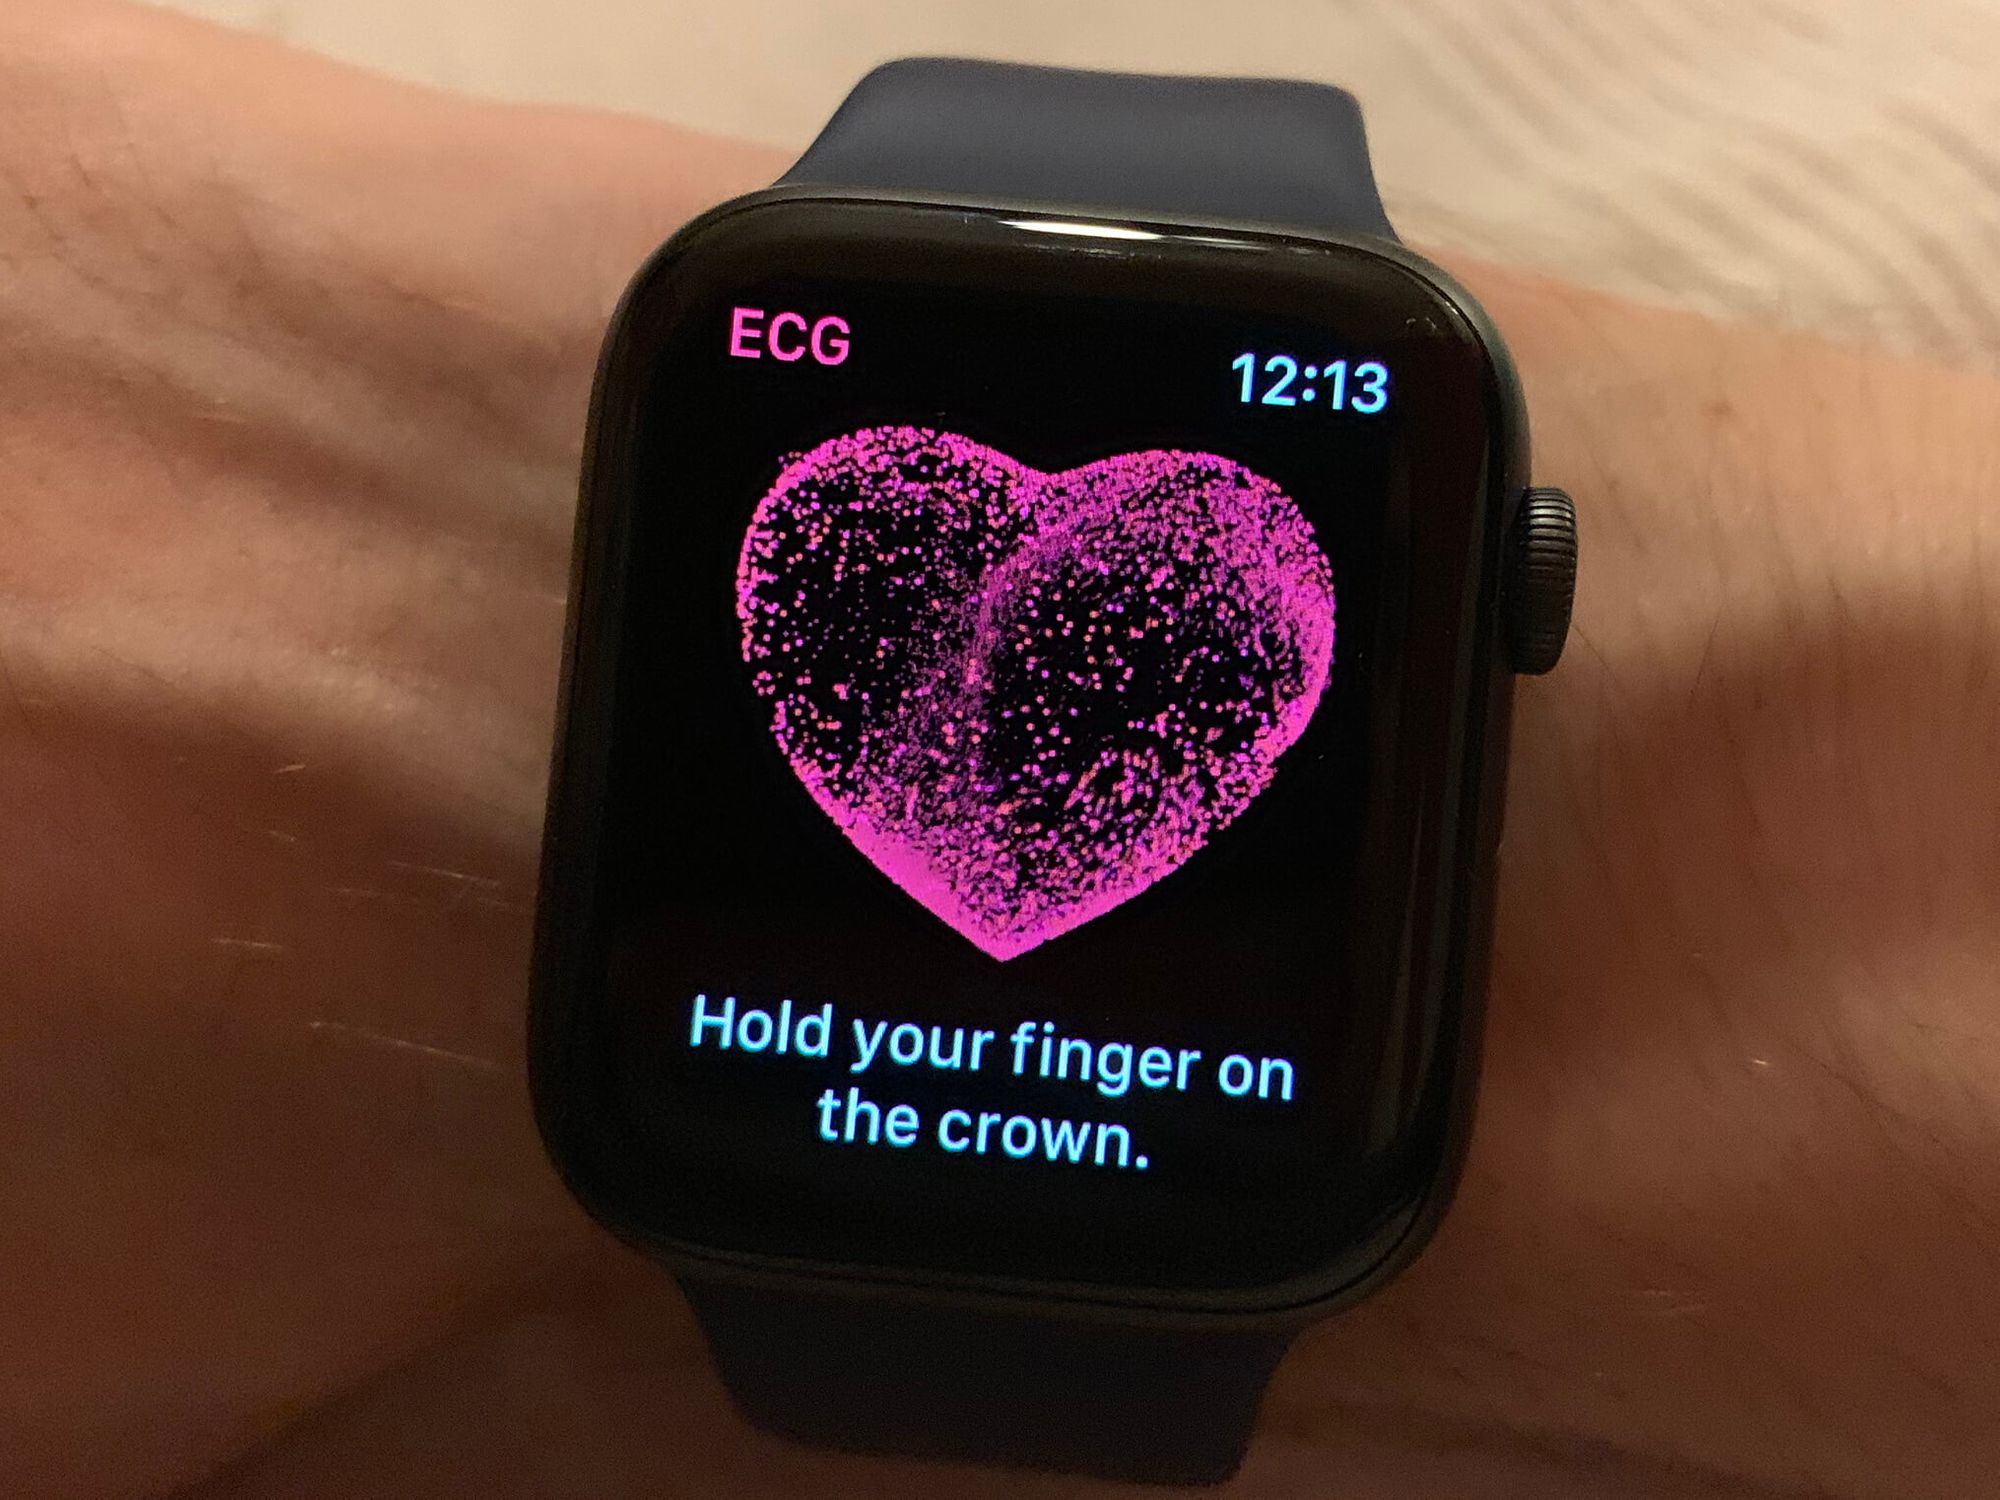
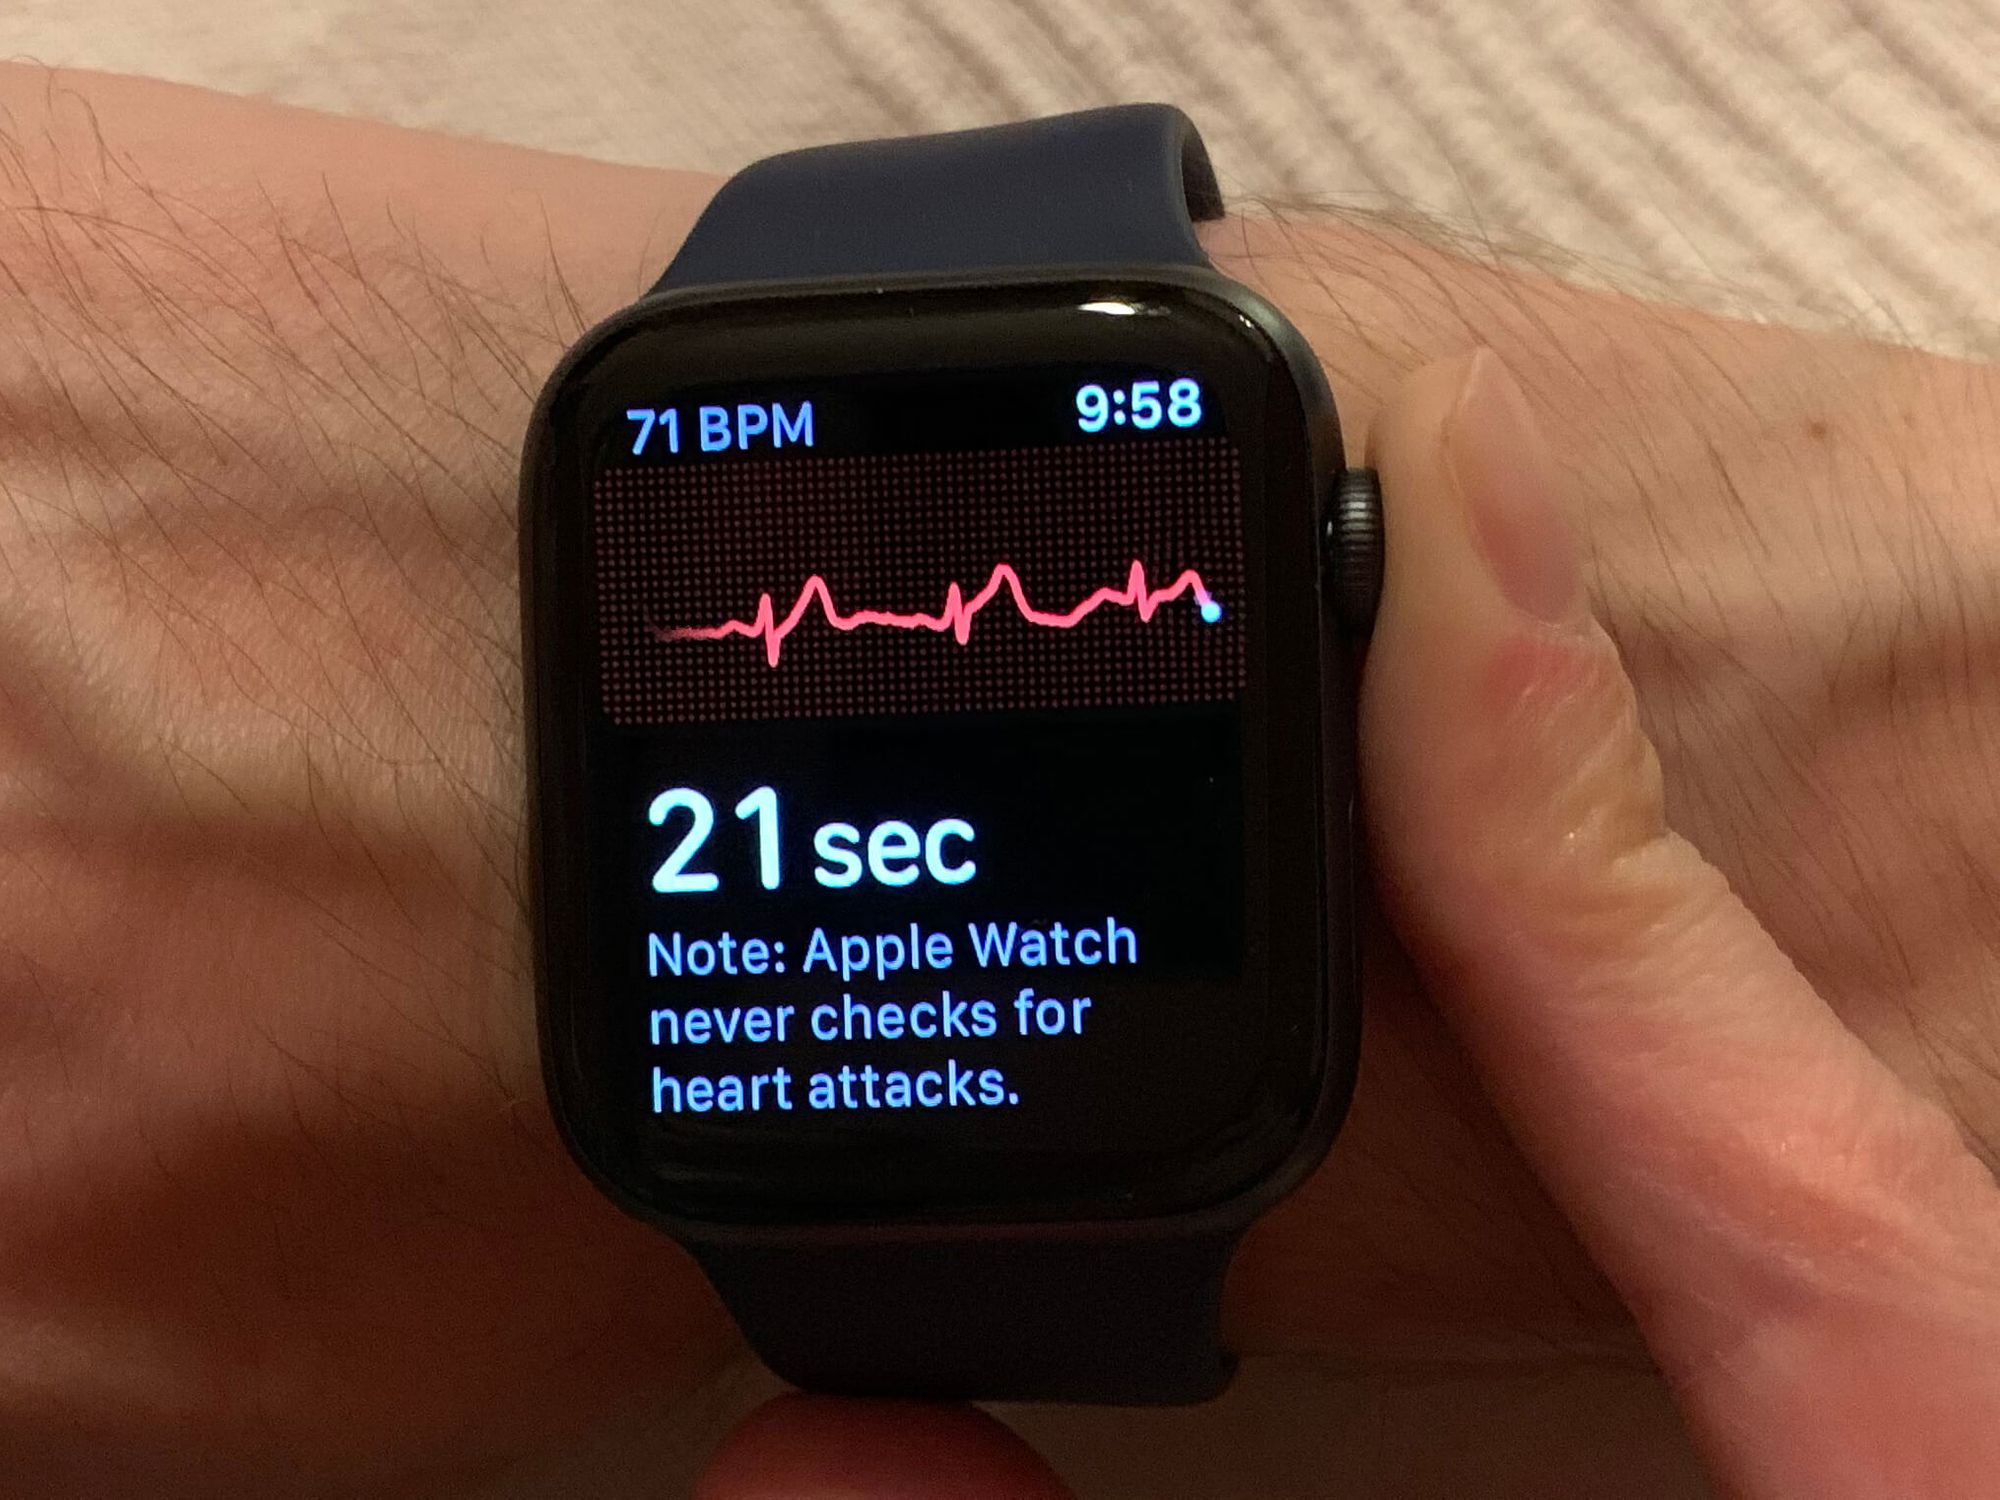
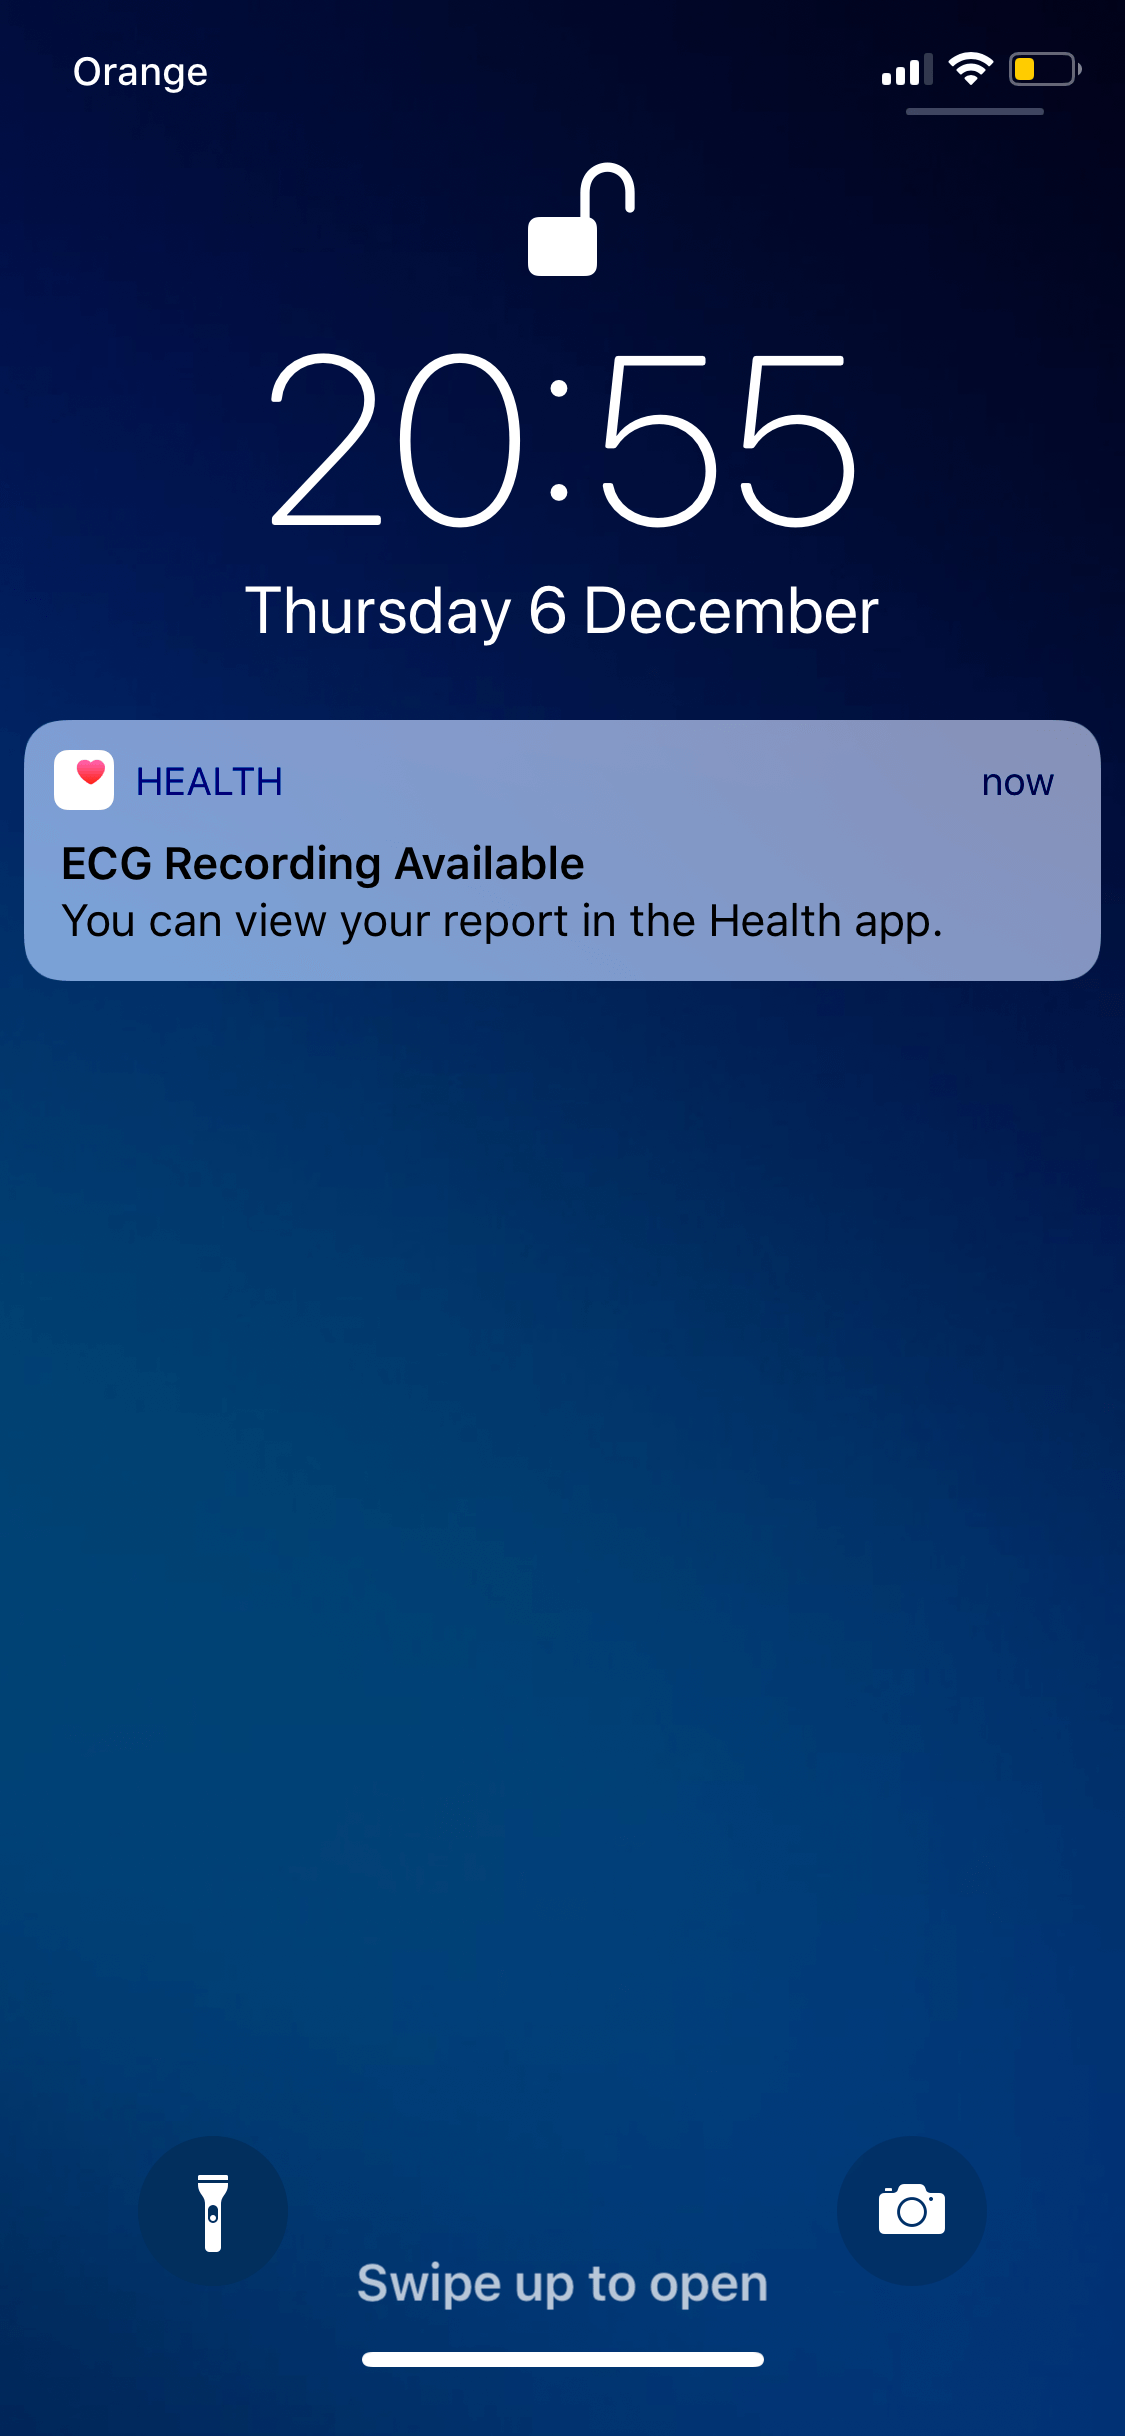
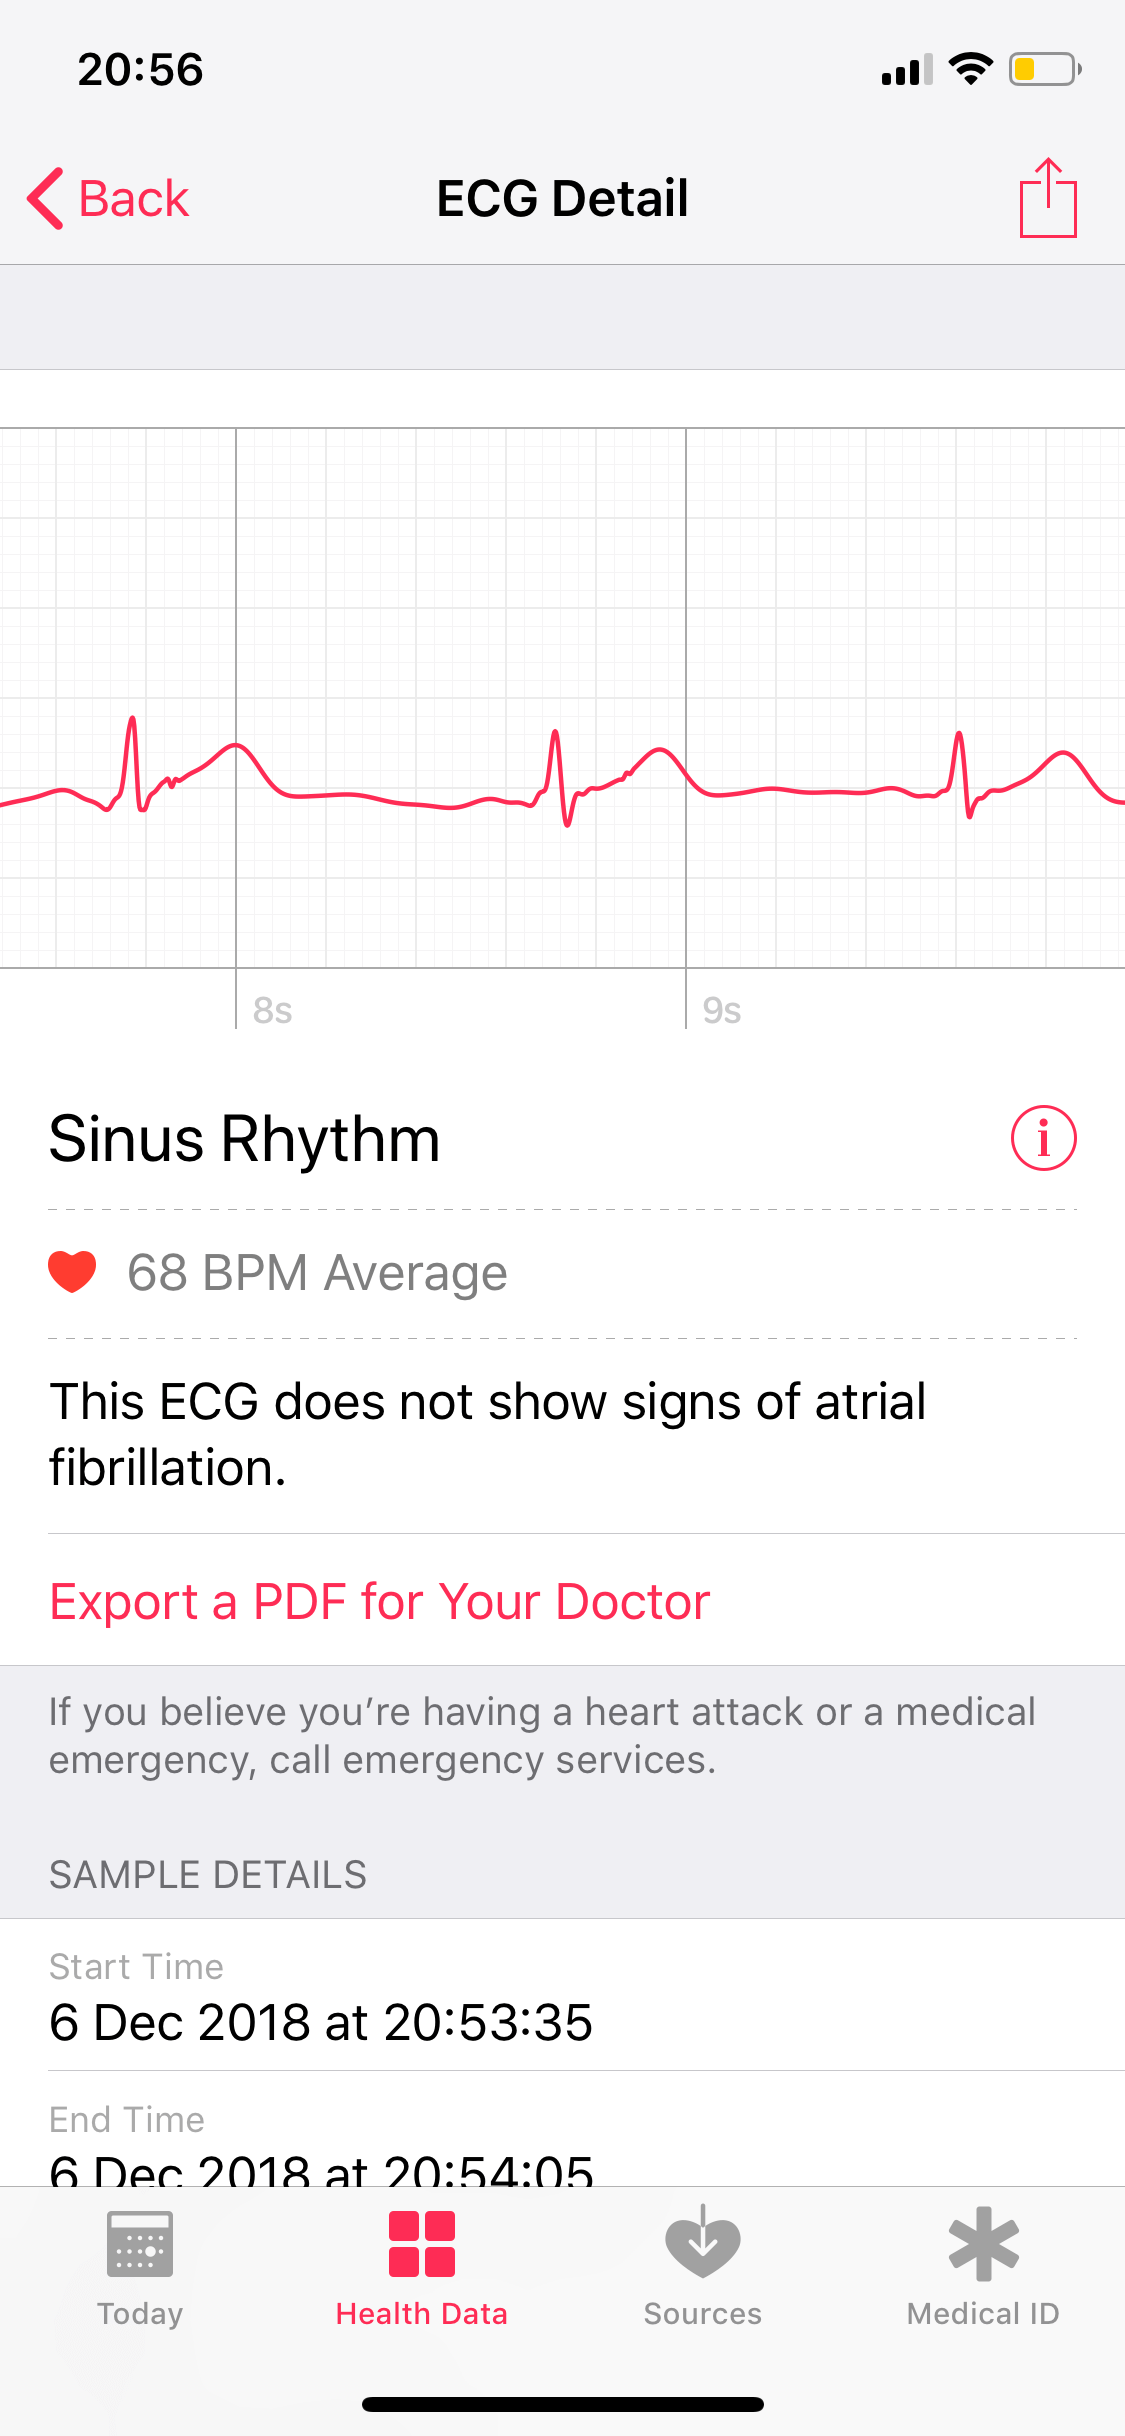
The reason behind the geo limitation is that Apple doesn't want to face fines by launching essentially a medical device without proper licensing in other countries (which by the way are in works, but not finished yet).
Anyway, for me the new ECG works flawlessly, showing a sinus (uniform) rhythm without any signs of Atrial Fibrillation (non-uniform rhythm) which is uplifting 🙂
After doing the first few tests, the Watch offers doing it from time to time in the background on its own and inform you when it sees any inconsistencies. I wonder how it's gonna do it since for the manual measuring it requires you putting your finger onto the Digital Crown to complete a circuit connectivity.
Another drawback is that the ECG app requires you to have your watch snug to your arm which for me means to readjust the band each time by one button snugger and that is less comfortable in my regular use scenarios 🙂
But overall this is an insane feature for such a small and portable device where previously you had to have a separate dedicated device to be plugged in instead.
P.S. In order to get the ECG feature you should be on the latest watchOS 5.1.2 and iOS 12.1.1
You're overpaying for your phone's camera
If you're using your phone camera for posting on social media, which cram the photo quality a lot, you might be overpaying for your phone's camera.
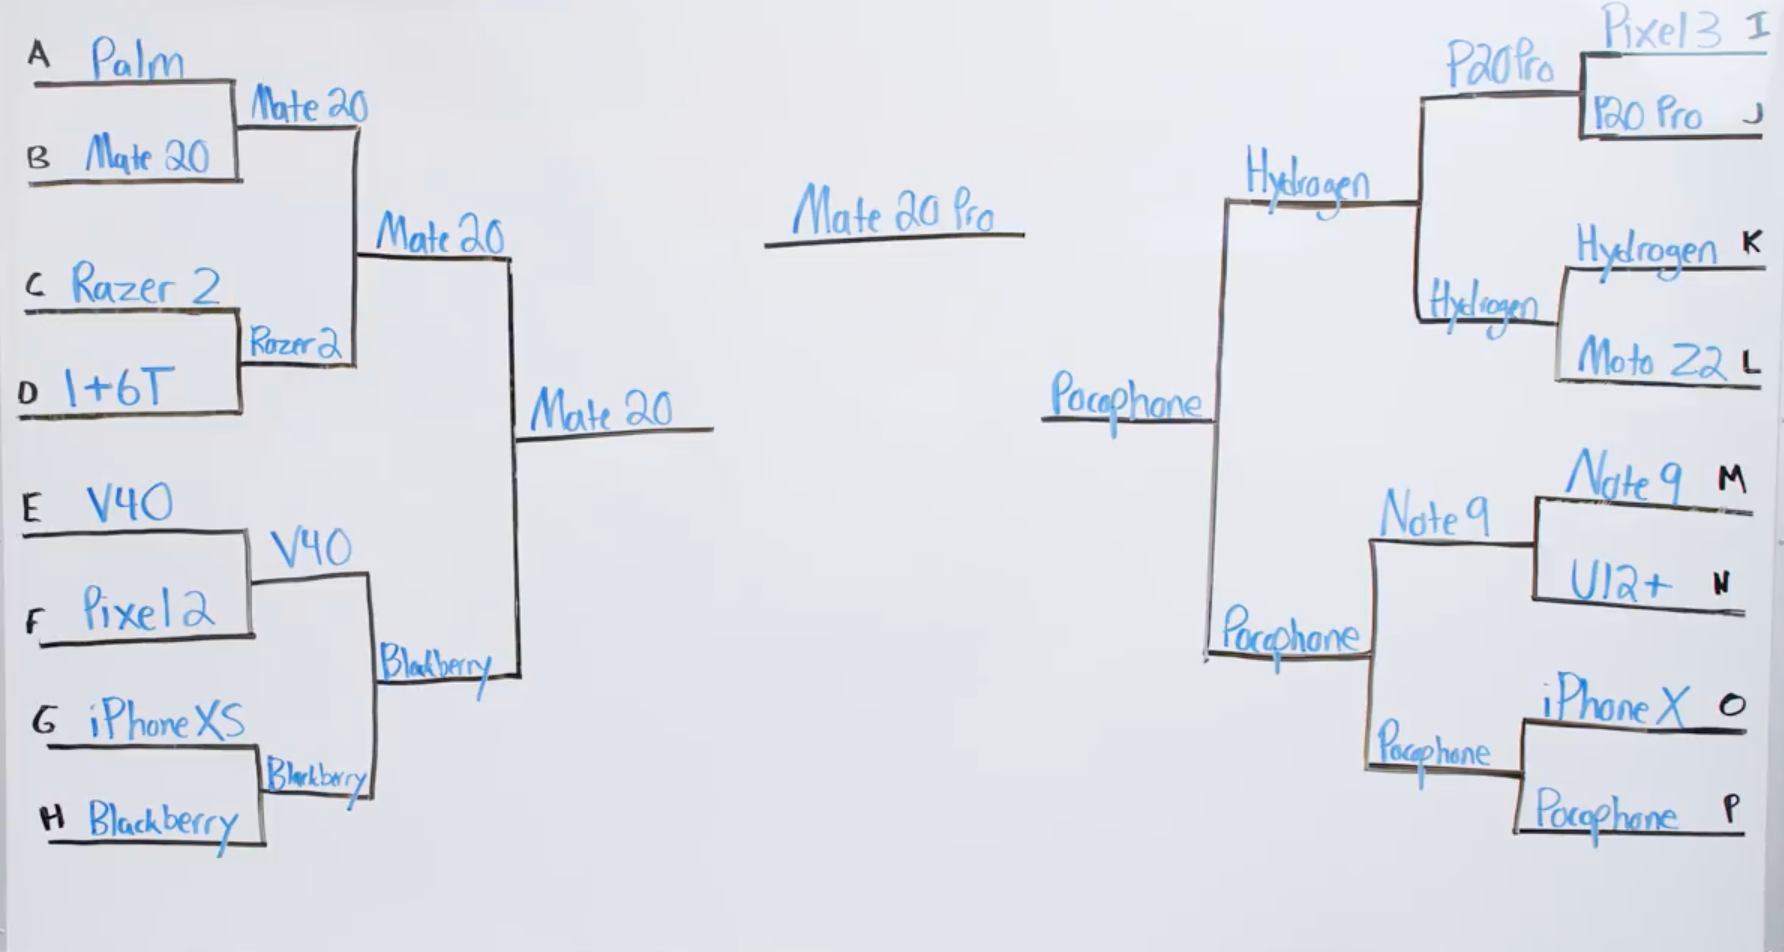
The recent objective winners backed up by thorough tests in the phone camera department are:
- Google Pixel 3 XL
- iPhone XS
- Samsung Galaxy Note 9
But as MKBHD's blind camera test shows - buying a more expensive phone with a presumably better camera is not worth it if you mainly use the taken photos to post on social media. Like me, all of MKBHD's friends were blown away with the results.
If you take photos to keep the best, more natural version of the moment for a long time, then the more expensive phones are for you. But if you use your phone's photos to post on social media, and because of how they compress the images and their quality, you can actually achieve even better results with cheaper smartphones rather than posting photos from a more expensive ones.
The thing is that people assess pictures based on how they look in general, not based on the theoretical or technical details. And nowadays you can go really far just by improving the pictures with software. This is where the cheap phone shined in this review. Not only you can't see all the tiny details that more expensive phones provide because of the photos being compressed, but the over-exposed (usually just brighter) pictures from the cheap phones which use a ton of software enhancements actually feel better than the more precise photos taken with more expensive devices.
The winner of this test, Huawei Mate 20 Pro which is not a cheap phone by any means and actually has a really great hardware camera setup won because Huawei is known for their software processing for the photos. And the Pocophone F1 (Xiaomi's sub-brand) which costs only $300 came second out of 20 phones, beating the iPhones and Samsungs of this world also mostly because of improving the pictures with its software. Pocophone's camera lacks details if you zoom in the uncompressed version, but no one cares about those details when they're looking at the compressed pictures on Instagram or Twitter.
The bottom line is you can take a visually much more pleasing picture with worse hardware but then improve it with software. In fact, photo filters and manual adjustments have been there for a while enabling people posting awesome shots from not that great devices. So next time when a brand sells you how truly great their camera is, if you're doing photos just for social media, you can easily ignore that. That is what most people actually do already. Because hardware means less and less, and software wins again. But even Google who is great with their image processing algorithms lost with their Google Pixel 3 XL in the first round of comparison. And two top spots in the test won two Chinese companies, usually not very well known for their software achievements. But tables have turned.
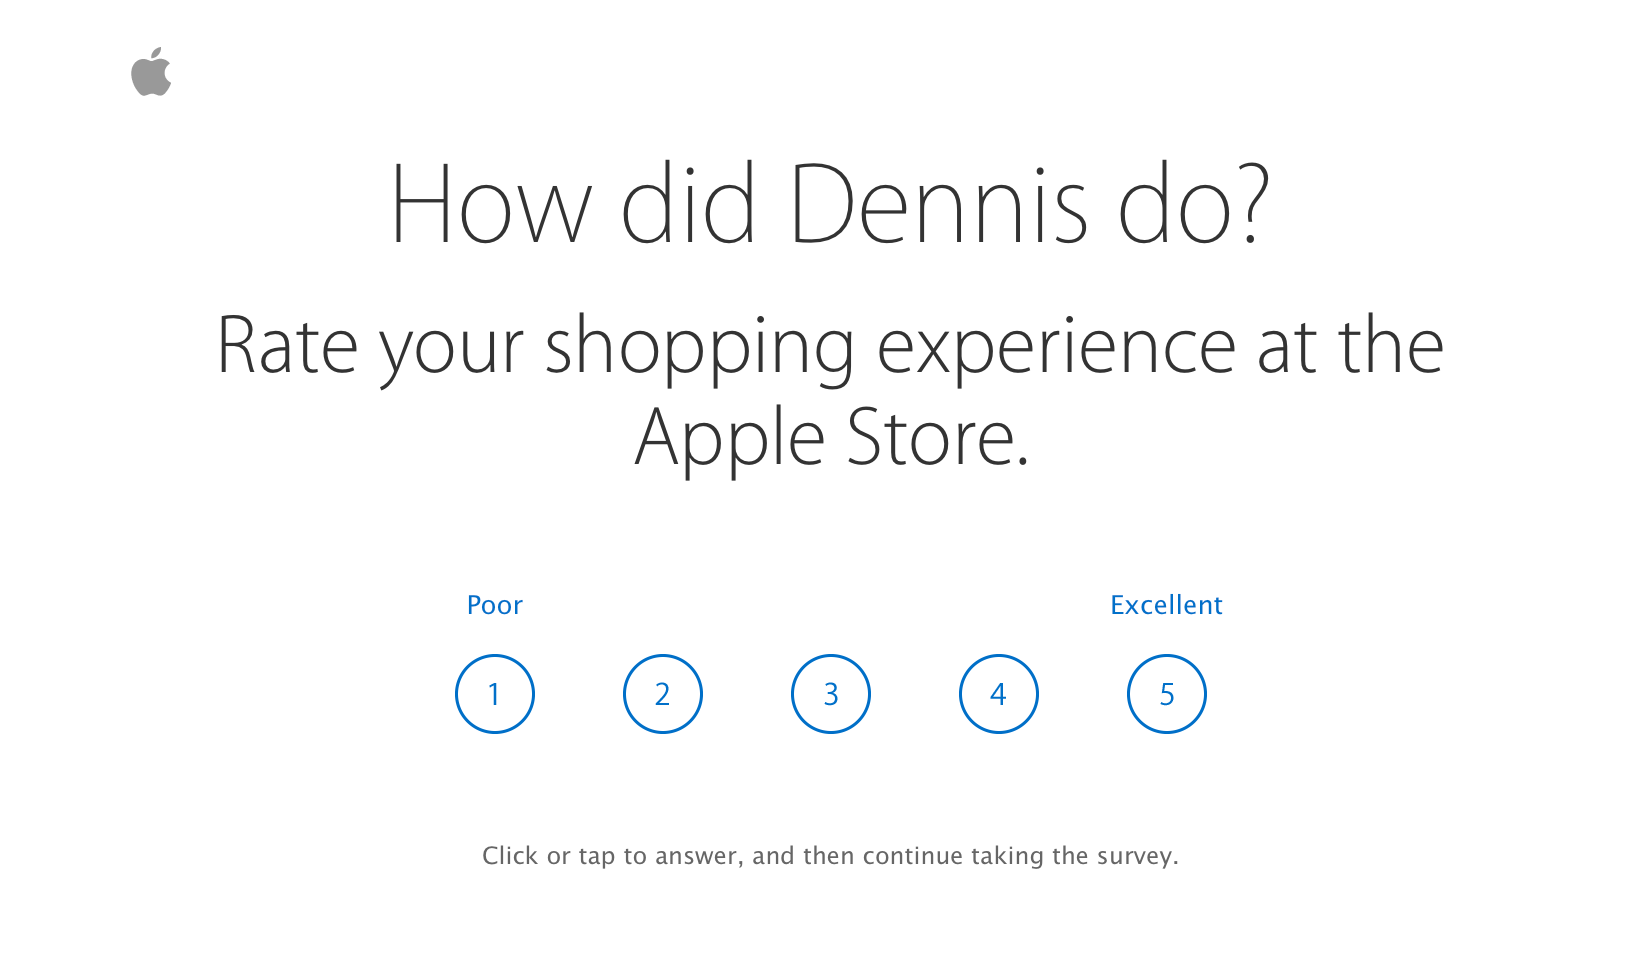
Apple Store Experience survey
From time to time I've seen Apple's surveys on the recent purchases I made and how I like the stuff I got. But this is my first time I'm asked to survey a particular consultant. Nice 🙂
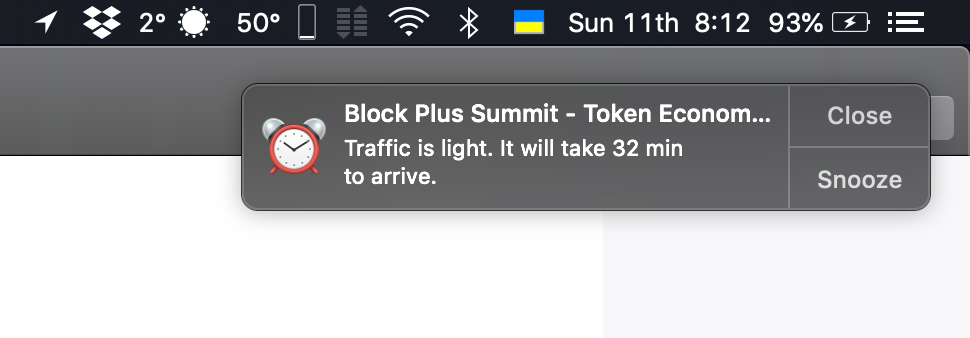
Proactive Siri notifications on Mac
Was sitting today when suddently a notification appeared on my Mac. I've seen this on Android and iOS before but not on the Mac which is nice since your eyes ar not always looking at your mobile device 🙂
iOS 12 release 🎉
Best features:
-
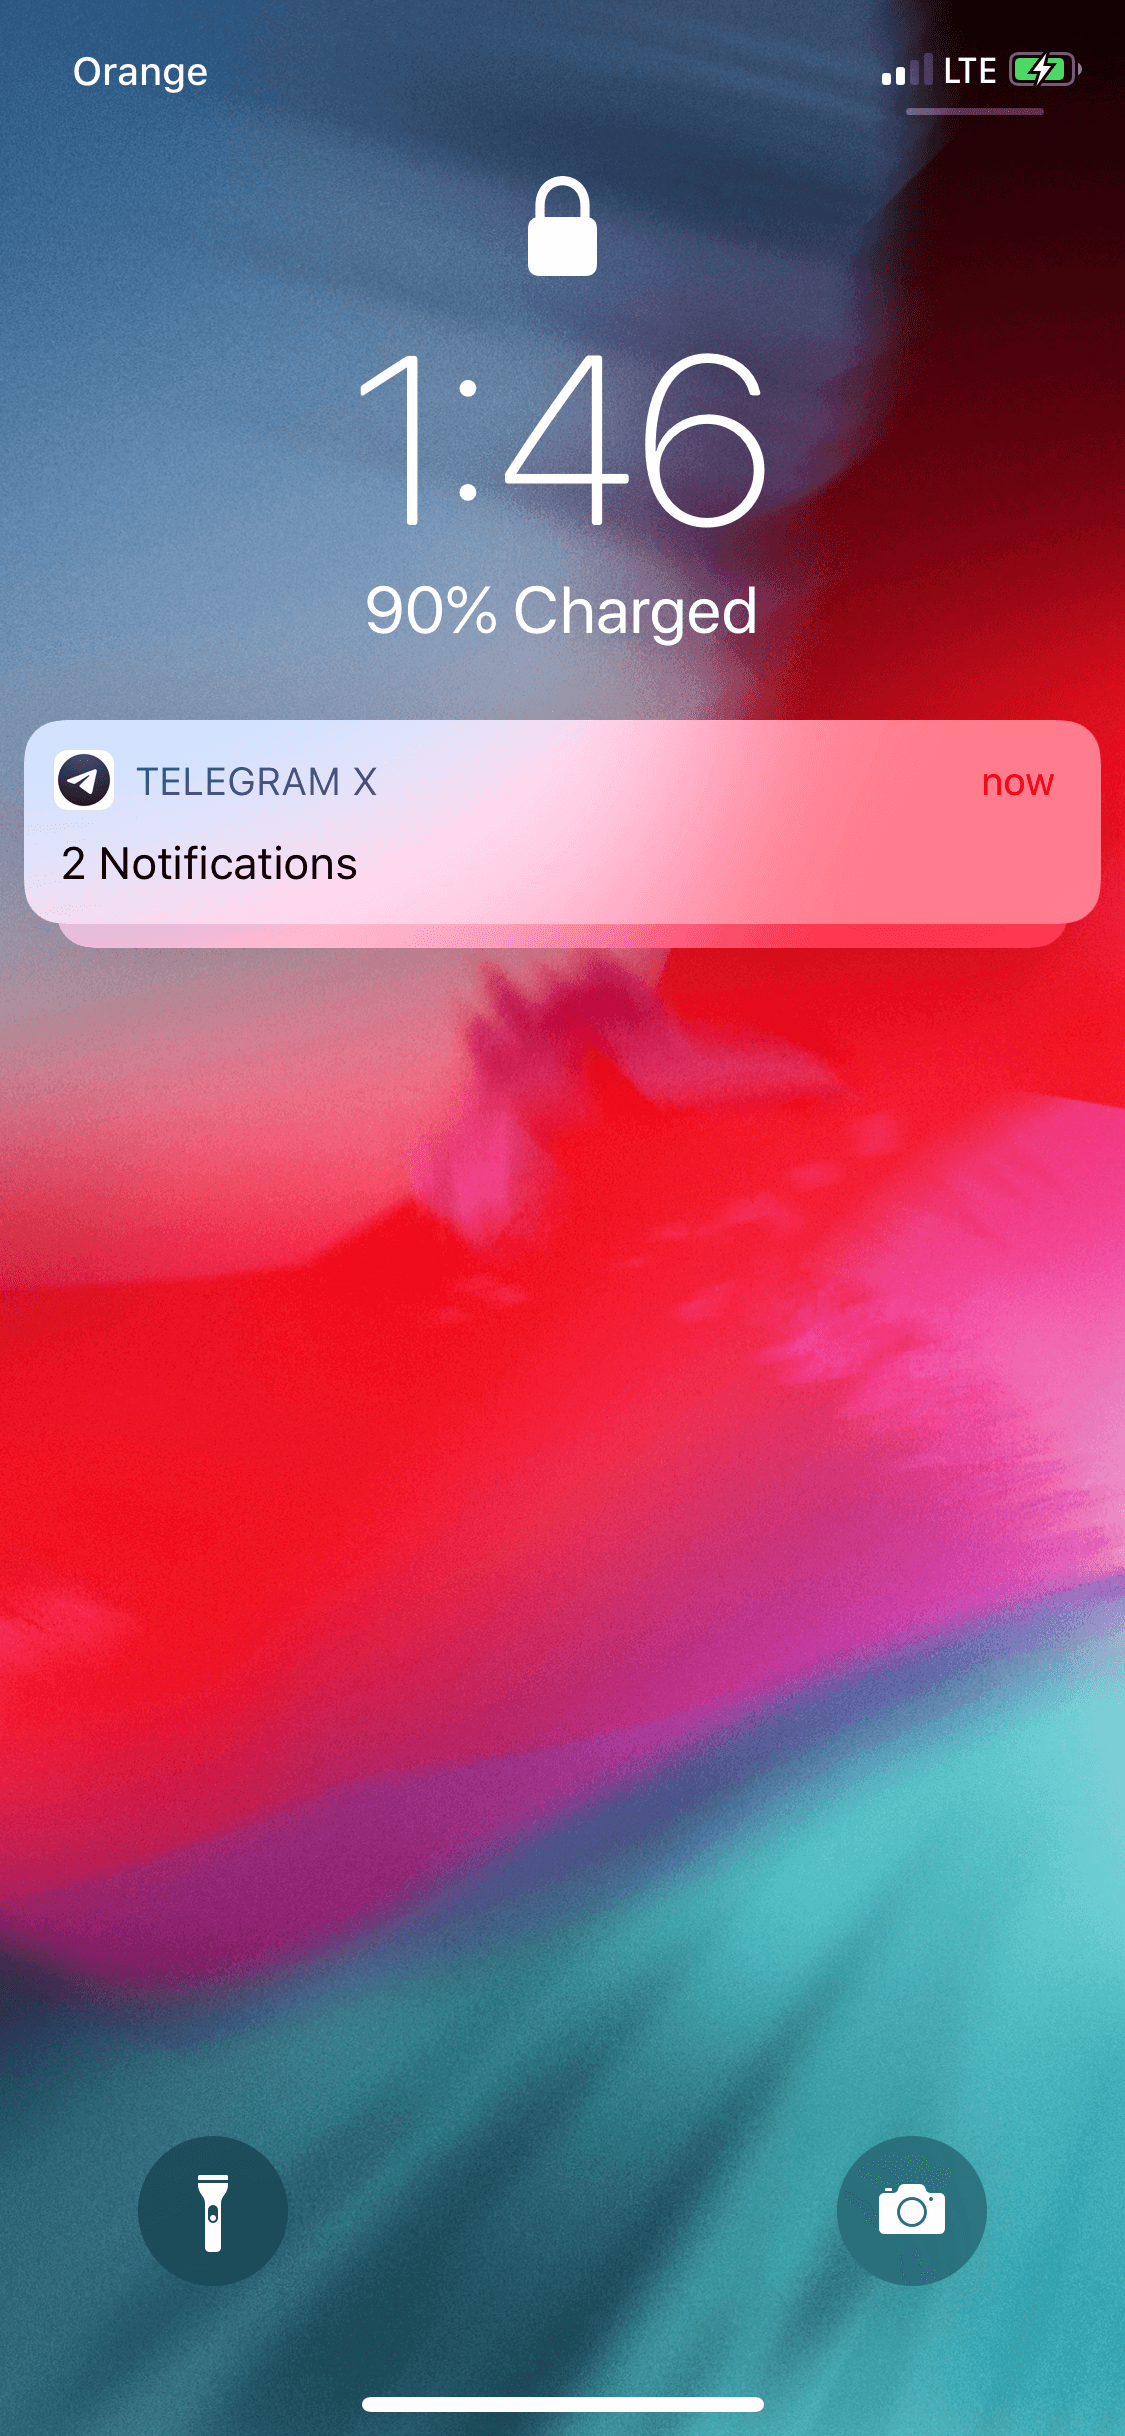
Group notifications
-
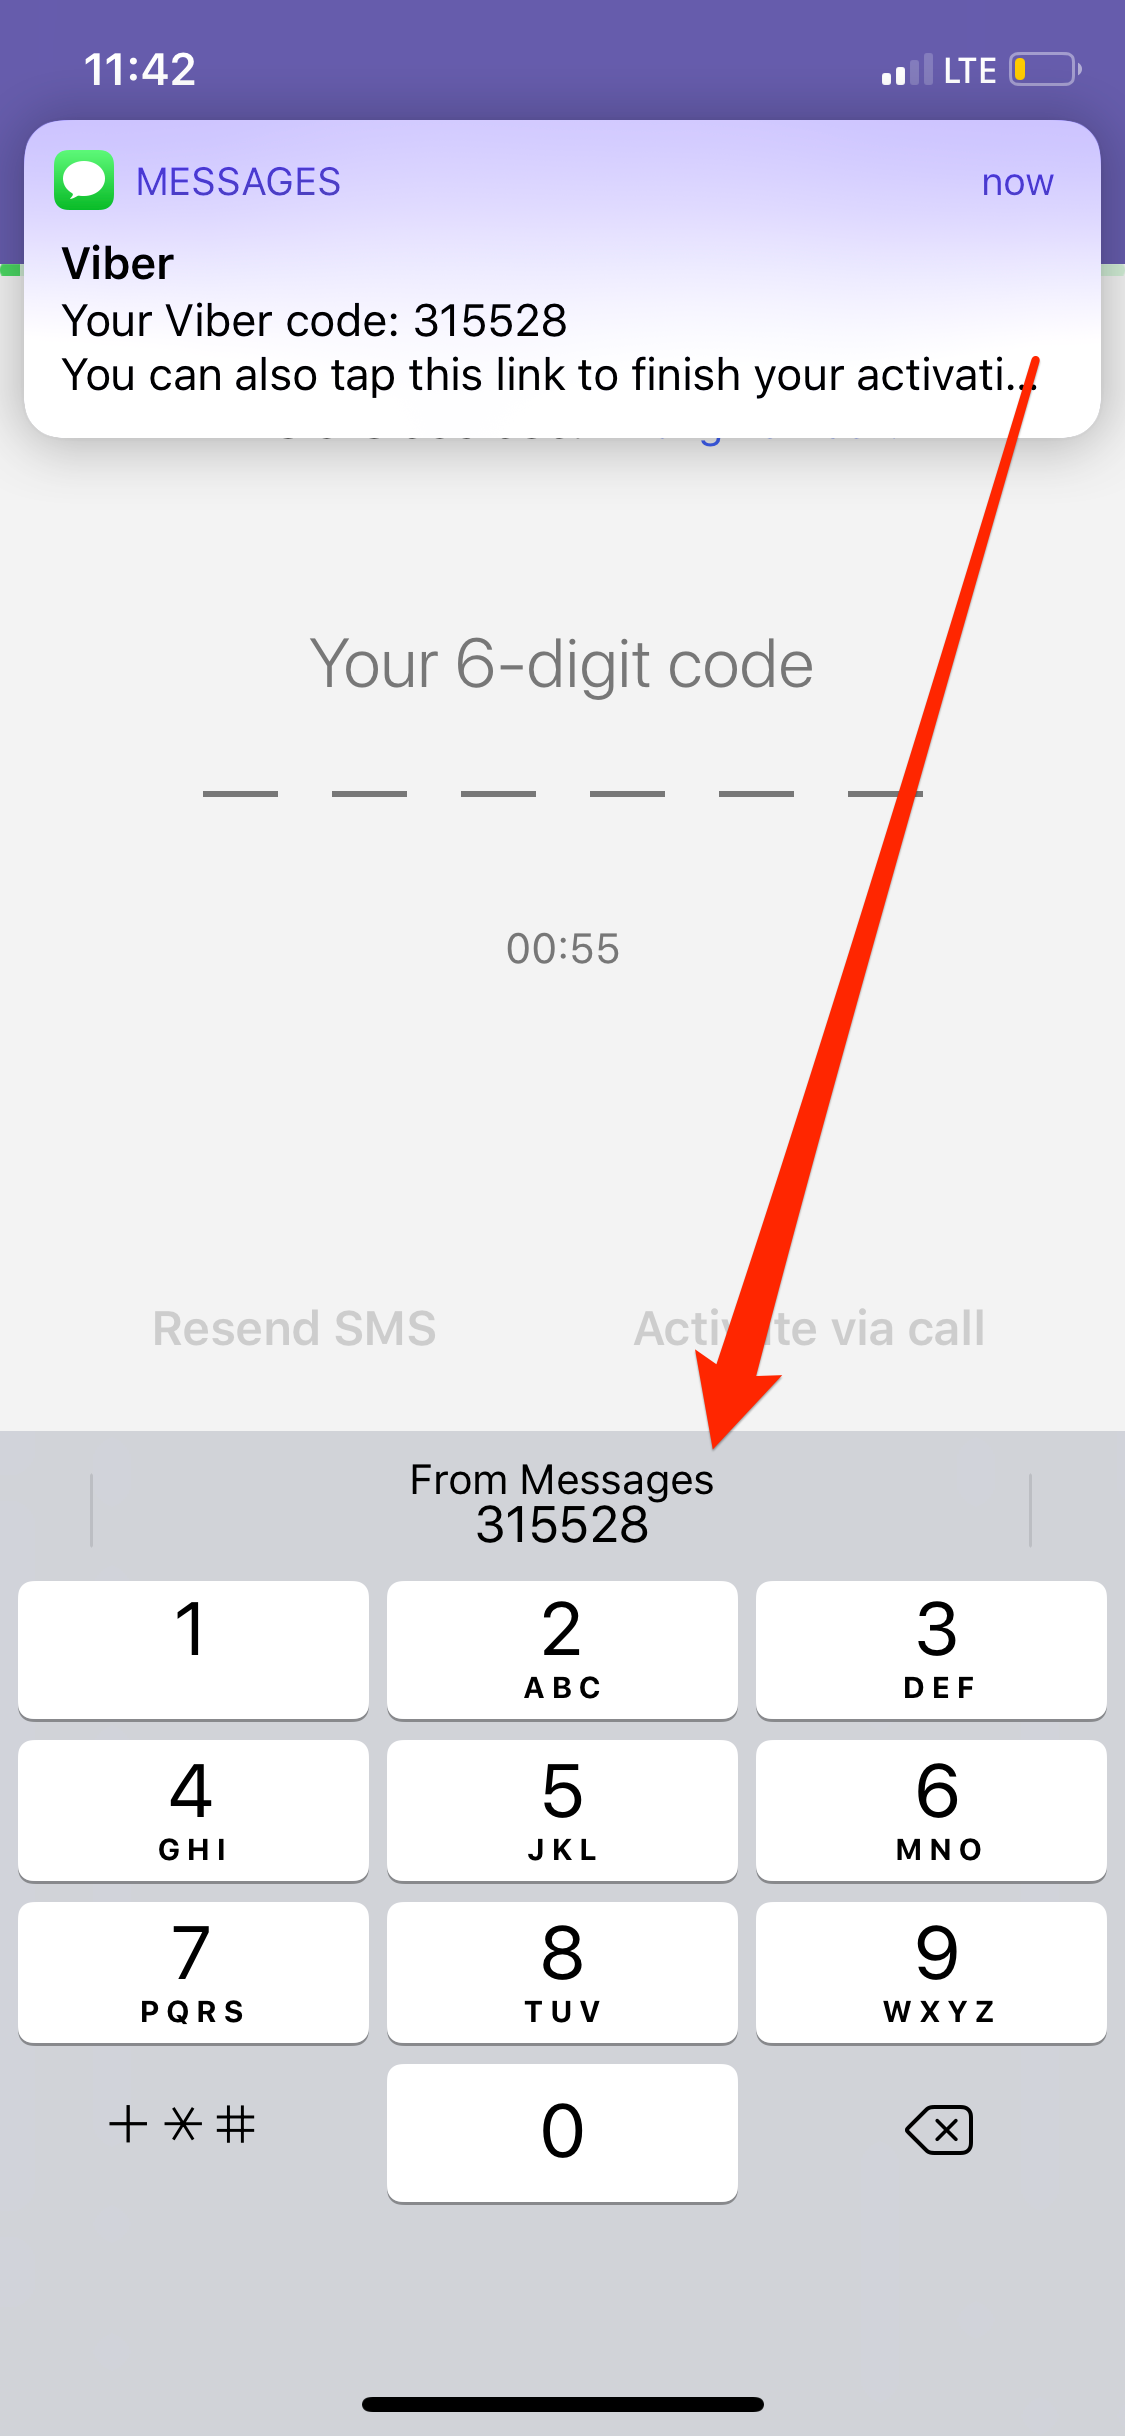
SMS passwords filling in
-
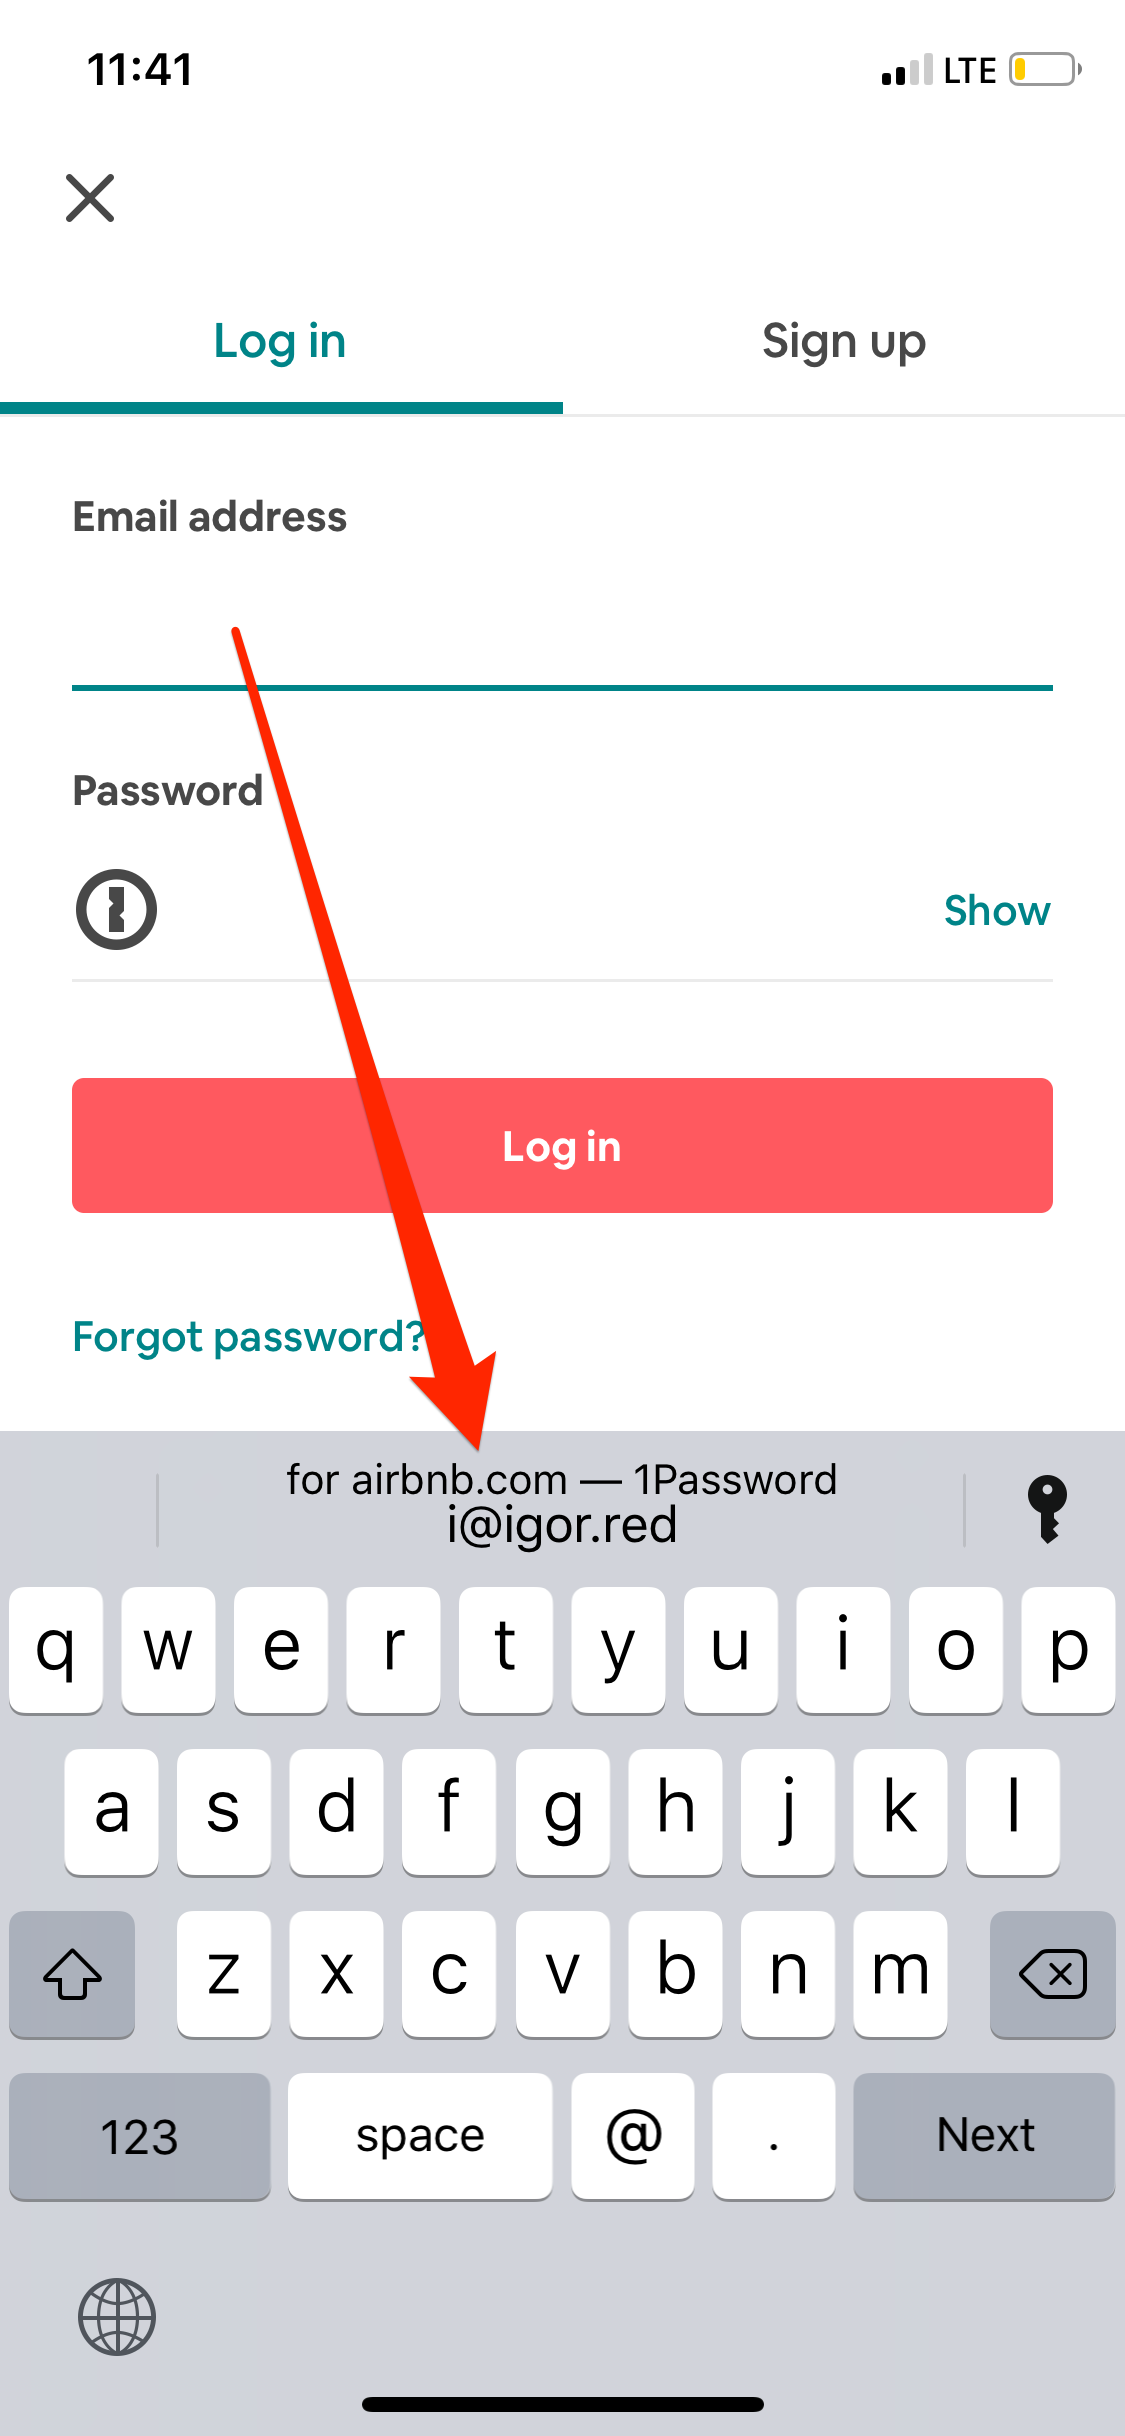
Password suggestions
-
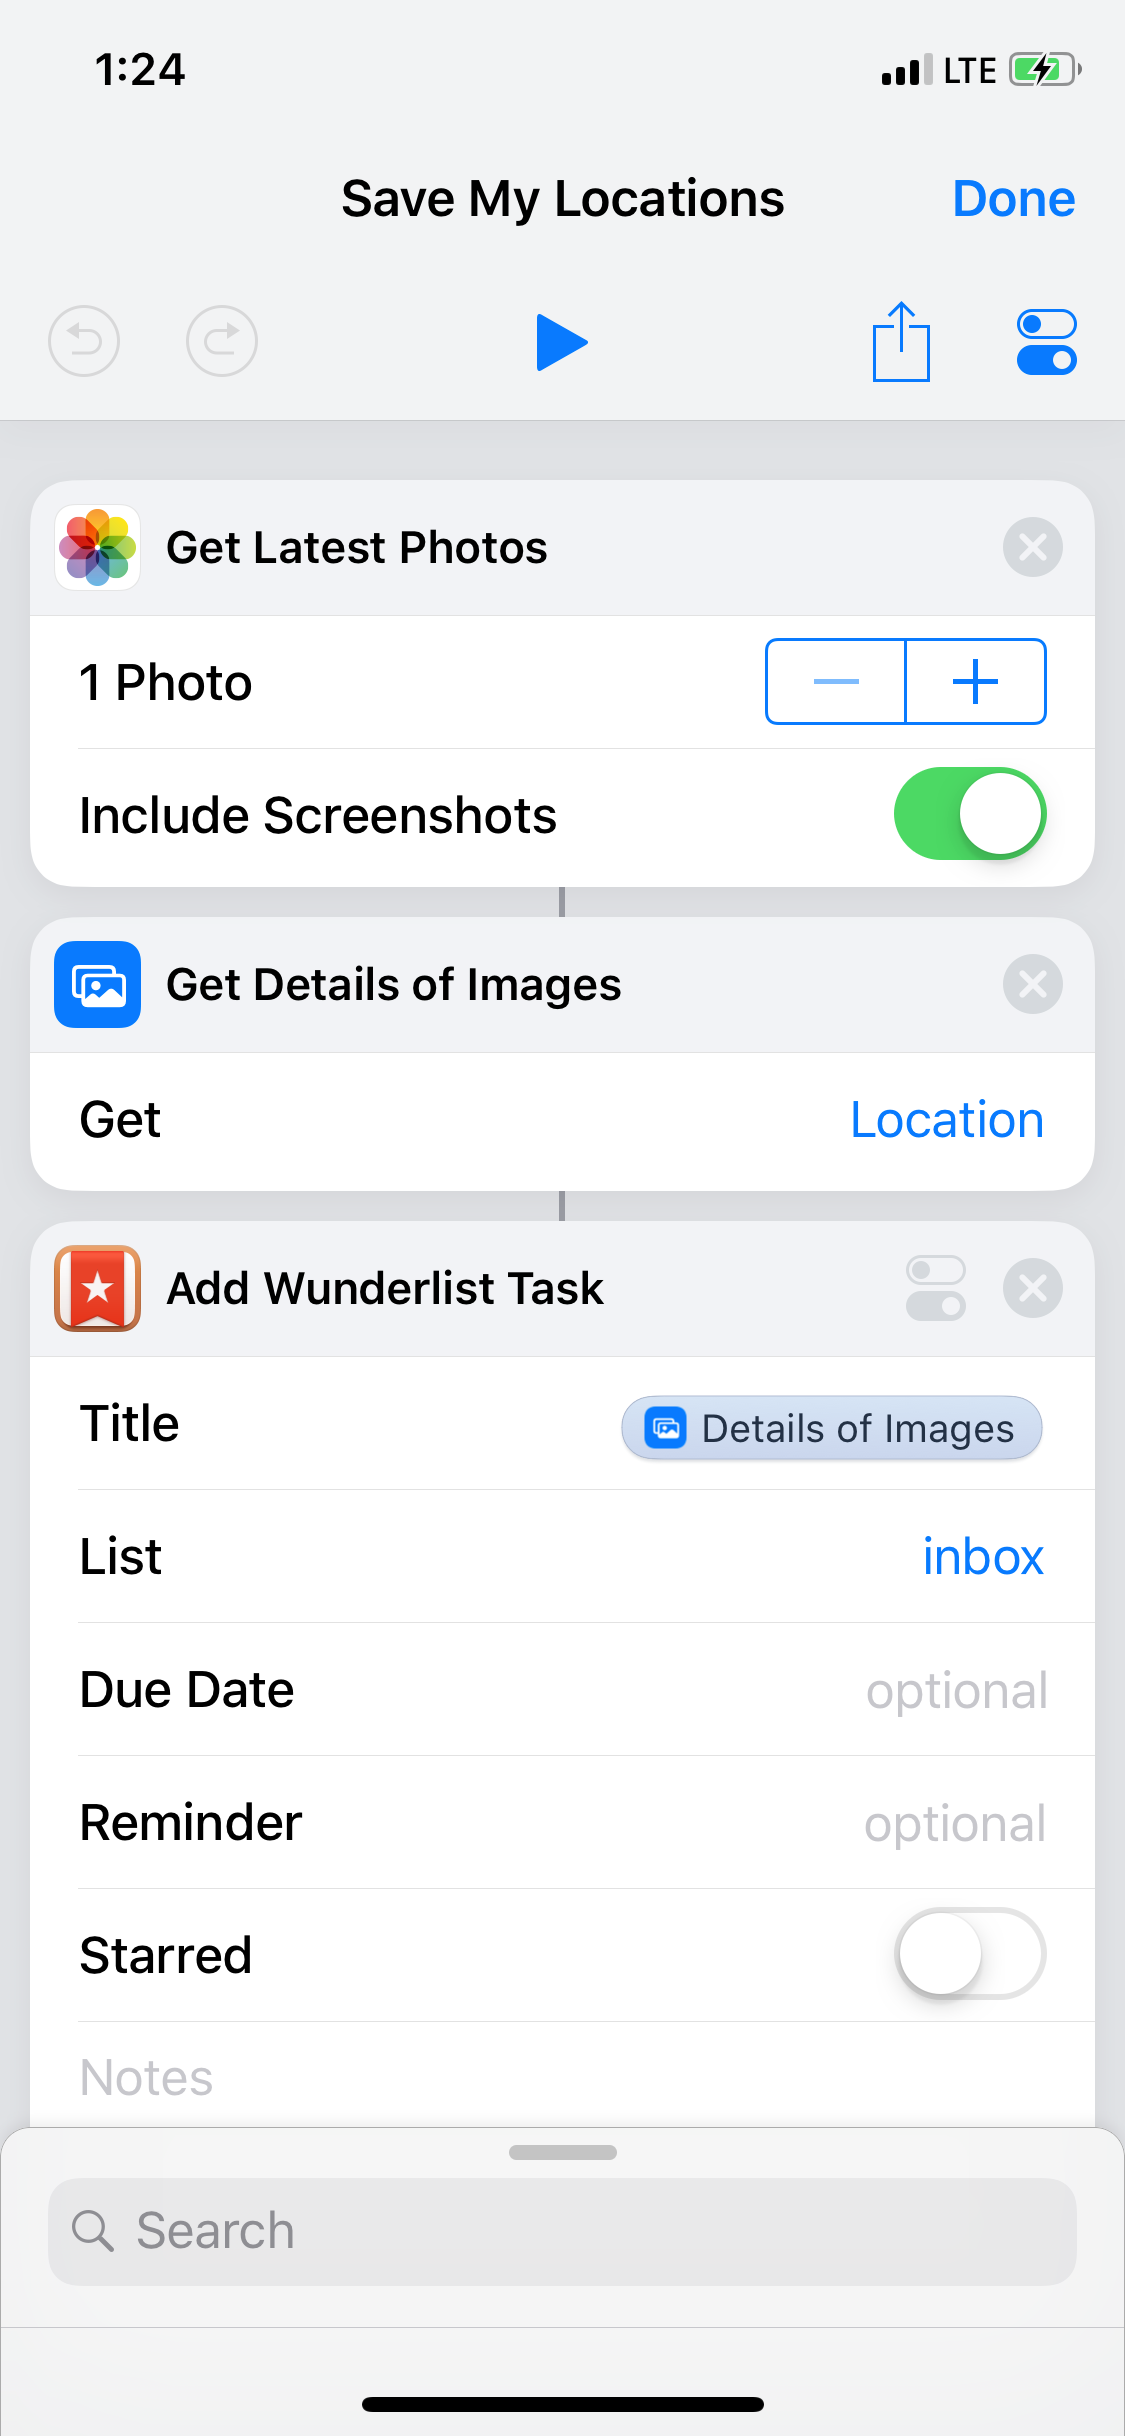
Siri shortcuts
-
Runs faster even on older devices
Setting up Fastlane on a remote server
In the previous article I went through the steps on how to setup Fastlane on your Mac, but what if you would want to have a remote machine doing all the heavy lifting, getting loud and hot and keeping your computer cool and quiet while building your project? Well you can do that.
First ssh into your remote machine, then follow my manual on how to setup Fastlane on your computer and go through all the steps but with a remote machine.
What's the point of this article you would ask? It's mostly to reiterate on the issues you might face while running fastlane beta on the remote server. For example there is a high chance that you might encounter Fastlane's errSecInternalComponent error which is actually pretty easily resolvable by going through the archive and export routine and unlocking keychain via ssh. All the details are in this link.
Fastlane errSecInternalComponent error
If you tried running Fastlane on a remote machine, you might have encountered this error. In short: Fastlane has troubles signing in your components and binary before for example uploading them to TestFlight.
To overcome the issue you should do the following:
- VNC into the remote machine and do a Build->Archive and export to App Store routine. When you'll see the codesign prompt, let it 'Always Allow', thus making to remember that xcode-tools are whitelisted
- After ssh-ing into the remote machine, before starting Fastlane, enter the following into Terminal:
security unlock-keychain login.keychain- this will allow using the codesigning private key in Fastlane launched via ssh. - Start your lane of choice by using
fastlane <lane>and enjoy Fastlane without the codesigning error.