Author 33 Posts

Igor

Saving array of custom objects to SharedPreferences on Android

On iOS when you store an object in UserDefaults, you just put it there via setValueForKey, and it doesn't matter if you put the class there on its own, or an array of your custom classes. What matters is when you get it (them) back via objectForKey or arrayForKey, you cast the object(s) into a correct type/array of types.

On Android the principle is similar with the primitives (ints, strings, booleans, etc.) but it gets a bit tricky from an iOS-dev's perspective to store an array of objects in SharedPreferences (Android's analog for iOS's UserDefaults), but there is a solution.

First, we save your array (list) of objects:

// Needed libraries
import android.content.Context;
import android.content.SharedPreferences;
import com.google.gson.Gson;
import com.google.gson.reflect.TypeToken;
import java.lang.reflect.Type;
import java.util.List;

// Accessing SharedPreferences
SharedPreferences sp = getSharedPreferences("MyPreferences", Context.MODE_PRIVATE);
SharedPreferences.Editor editor = sp.edit();

// Saving accounts
public void saveAccounts(List<Account> accounts) {
    Gson gson = new Gson();
    String accountsJson = gson.toJson(accounts);
    editor.putString(r.getString("SavedAccounts"), accountsJson);
    editor.apply();
}

As you can see, even though we pass an array of objects, we then convert and store them actually as a string. Nothing unusual here, except storing an array of objects as a string 🙂

Where it gets interesting is when we need to get the objects back from SharedPreferences:

public List<Account> getAccounts() {
    Gson gson = new Gson();
    Type type = new TypeToken<List<Account>>(){}.getType();
    String accountsString = sharedPref.getString("SavedAccounts", "");
    return gson.fromJson(accountsString, type);
}

Here we get our array of objects as a string and convert it back to our list of accounts via Gson's built-in functionality.
Universal data+notification FCM payload for iOS+Android

In case you're following my FCM payload saga, here's a happy ending that covers most usecases with one payload which will allow you sending basic FCM messages with data and notification in them. And such messages are universal and will produce the same result on both iOS and Android. On iOS this will work out of the box, whereas on Android a small hack is neccessary to be added to the app itself.

With the payload below, you'll be able send a unified FCM message to iOS and Android and on both platforms you will receive a notifcation pop-up/heads-up message as well as pass some data to the callback method of the app which then may use it to do something meaningful in the background:

{  
   "message":{  
      "token":"<device registration id>",
      "apns":{
         "payload":{
            "aps":{
               "content-available":1,
               "alert":{
                  "title":"title",
                  "subtitle":"subtitle",
                  "body":"body"
               },
               "badge":7,
               "sound":"default"
            }
         }
      },
      "data":{
         "account":{
            "first-name":"Igor",
            "last-name":"Z"
         },
         "androidTitle":"title",
         "androidBody":"body"
      }
   }
}

iOS will use the apns part to display the notification, and pass data=>account to your app for further use. And essentially ignore the androidTitle and androidBody part.

Android on the other hand will ignore the whole apns branch, pass data=>account to the app as well and with the small hack mentioned above use androidTitle and androidBody to display a local notification.

That's a lot of power in a single payload. I hope you find it helpful 🙂

Combining data+notification payload in FCM Android

If you send this payload to an iOS device via FCM, and also invoke UNUserNotificationCenter's didReceive response: withCompletionHandler callback method, iOS will both display a text notification as well as allow you app some background time to deal with the data object you're sending along your push notification.

Unfortunately on Android even using my recommended payload you won't achieve this behavior. If you send both notification and data, only the notification will be shown, and the OnMessageReceived callback method won't be called to handle the data object.

But if you're in charge of the FCM payload creation, you can put the notification's title and body into the data object like this:

{  
   "message":{  
      "token":"<device registration id>",
      "data":{
         "account":{
            "first-name":"Igor",
            "last-name":"Z"
         },
         "androidTitle":"title",
         "androidBody":"body"
      }
   }
}

And when OnMessageReceived is called with the contents of this payload, you just create a local heads-up notification based on the info in androidTitle and androidBody with this code:

This code is a bit verbose, but is guaranteed to be working on all current versions of Android, which is invaluable 🙂 You just put androidTitle and androidBody as parameters of the method above and a nice default nofitication will appear on each message.

Now you can enjoy notification+data push notifications in a single message on Android with this hack, instead of sending two messages each time.

Firebase Android notification payload

Unlike iOS, for Android Firebase's FCM server accepts payload in slightly different form:

{  
   "message":{  
      "token":"<device registration id>",
      "android":{  
         "notification":{  
            "title":"title",
            "sound":"default",
            "body":"body"
         },
         "priority":"high"
      },
      "data":{
         "account":{
            "first-name":"Igor",
            "last-name":"Z"
         }
      }
   }
}

But there's a caveat: when both the android and data objects are present - only the notification is shown, without data being passed to OnMessageReceived FCM callback method. So in order to send both data and notification at the same time on Android you either have to send two messages - one data and one notification. Or to be a bit more creative 🙂

Firebase iOS push payload

If you're using Firebase and its FCM (Firebase Cloud Messaging) server directly to send out notifications to iOS users, you might wonder what kind of payload you should send to Firebase in order for the information to be delivered.

So wonder no more 🙂

{
   "message":{
      "token":"<device registration id>",
      "apns":{
         "payload":{
            "aps":{
               "content-available":1,
               "alert":{
                  "title":"title",
                  "subtitle":"subtitle",
                  "body":"body"
               },
               "badge":7,
               "sound":"default"
            }
         }
      },
      "data":{
         "account":{
            "first-name":"Igor",
            "last-name":"Z"
         }
      }
   }
}

In case you need, here's an example of the payload for Android

E-tickets

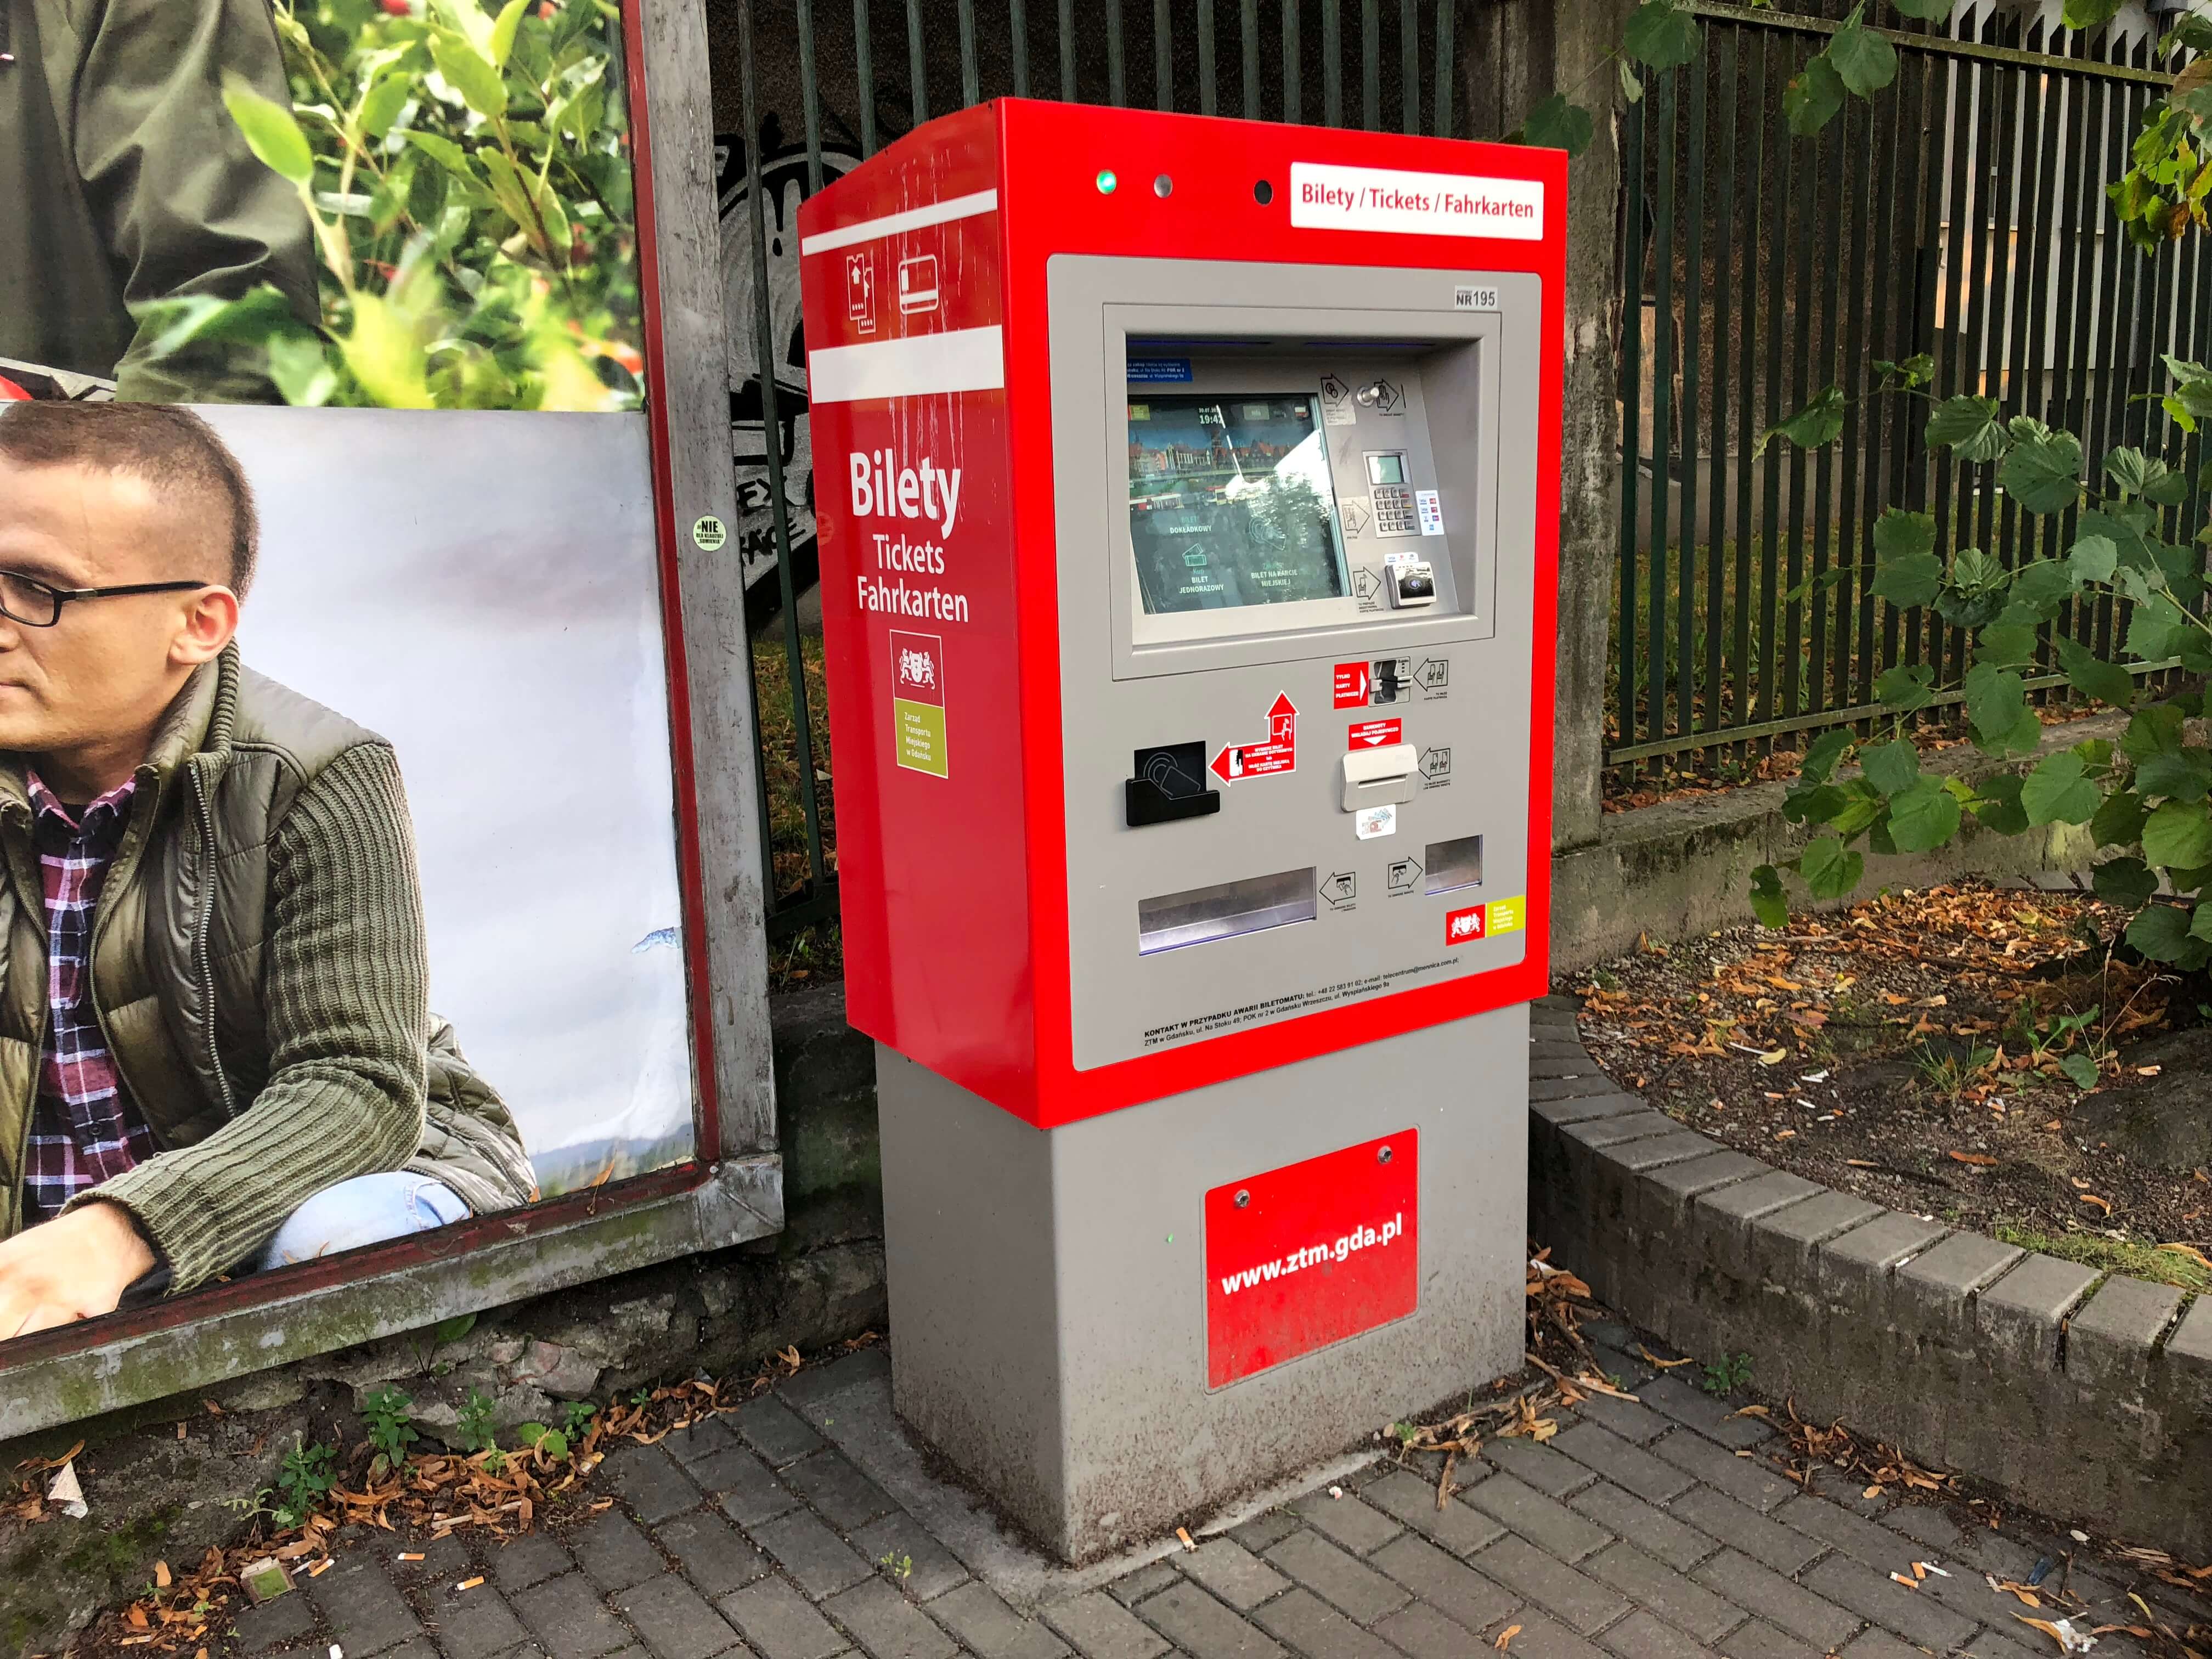
Few weeks ago I was in a rush and after coming to the railway station I had a choice - either stand in line to buy a ticket for the train but miss it, or get on it without one and risk getting a fine.

E-tickets

Of course both options were bad, but the downside of being late was worse than paying a fine, so I jumped on the train, but still managed to get the ticket without standing in line to the ticket machine.

After getting on the train I realized I had an app installed that allowed buying train tickets online, and it even had few credits left from my previous top-up. So I used it and spent the rest of the trip not worrying about fines.

The moral of the story is that I highly recommend getting to know online ticket services in your area - it simply saves you time from standing in lines. And saves paper 👍 If of course you're using public transportation 🙂 If not - I'm sure there are other areas covered with online reservations where you can improve your experience, avoid lines or just save time.

Setting up your own DNS server with Pi-Hole

While looking through my custom DNS server settings you might have noticed I actually have 1.1.1.1 as my secondary DNS server with my local 192.168.x.x being first. I went a step further of setting up pi-hole's DNS server in my local network and am using it as my primary DNS server when at home.

DNS

Pi-Hole has stricter filtering rules than of the more neutral CloudFare's DNS server which in our day and age can't be too strict. Also since I'm in control of this DNS server I can trust it completely, unlike other public pi-hole servers which might be secure but also might be not. In case you have the option to setup your local DNS server - I highly recommend doing it, especially since pi-hole makes it easier to do, you'll just need a local server or even a VM to run it on. If you're using only one device, technically you can run it even off your machine and connect to it there as well, but having a separate solution is still nicer, especially so you can connect other device to your local ads filtering DNS server, and have faster and safer Internet in all the apps and services you use on all of your devices.

But what if you are browsing the web not from your home and still want to use all of the advantages of custom DNS servers, especially on iOS when there is no way of overriding your carrier's DNS? On Android using a local filtering VPN service is your best bet. There are few options for your desktop OS and only on iOS apparently the single solution is to use what is called DNSCrypt. But at least the option count on iOS is greater than zero 🙂

Custom DNS on iOS via DNSCrypt

DNSCrypt

In previous posts about adblockers and VPNs for iOS I covered all the pros and cons of both approaches. TLDR: on iOS adblockers help you only in the browser but barely improve your privacy, whereas VPNs do both well but at the expense of your Internet speed, both on cellular and Wi-Fi.

After going through blockers, I mentioned setting custom DNS servers as a mean of filtrating ads and trackers on the domain name level. And you can do that fairly easily on Mac, iOS and Android while being connected to the Internet via Wi-Fi but you can't do that on cellular.

...Actually there is a chance and it's called DNSCrypt. In short this is a way of communicating with a DNS server not via regular DNS protocols which your carrier and your mobile device don't let you adjust. The connection to a DNS server of your choice is established via HTTPS, so it's secure, and you can customize it. The only requirement is that your DNS provider of choice should support resolving domains via HTTPS (usually 443 port) in addition to the usual 53 DNS port.

Luckily, my 1.1.1.1 DNS server of choice (provided by CloudFlare) supports DNS queries via HTTPS as well. So the only thing I had to do is to install DNSCloak for iOS, find 1.1.1.1 in the supplied list of DNSCrypt-enabled DNS servers and push 'start'. That establishes a 'VPN' connection which is not actually VPN since it doesn't send all your traffic to another server, just the DNS queries. And as a result you get your ads and trackers filtered on a domain level, without the downside of speed decrease which all traditional VPNs have in common.

As a recommendation you can make your DNSCrypt connection to be more stable. To do that open Settings.app, then go to General -> VPN, tap the 'i' button next to 'DNSCloak' and then switch on 'Connect On Demand' at the bottom.

In case you have your own pi-hole DNS server facing the open Internet (which you should do carefully or don't do at all), or you know a public one you can trust - you can enable it in DNSCloak and have even more strict DNS filtering than Google or CloudFare provides. They are public DNS servers and they are more conservative on filtering out stuff not to accidentally block websites used by the general public (e.g. blocking Facebook's tracking 'like' buttons may block Facebook at all). But that doesn't mean your pi-hole DNS server of choice can't be more strict 🙂